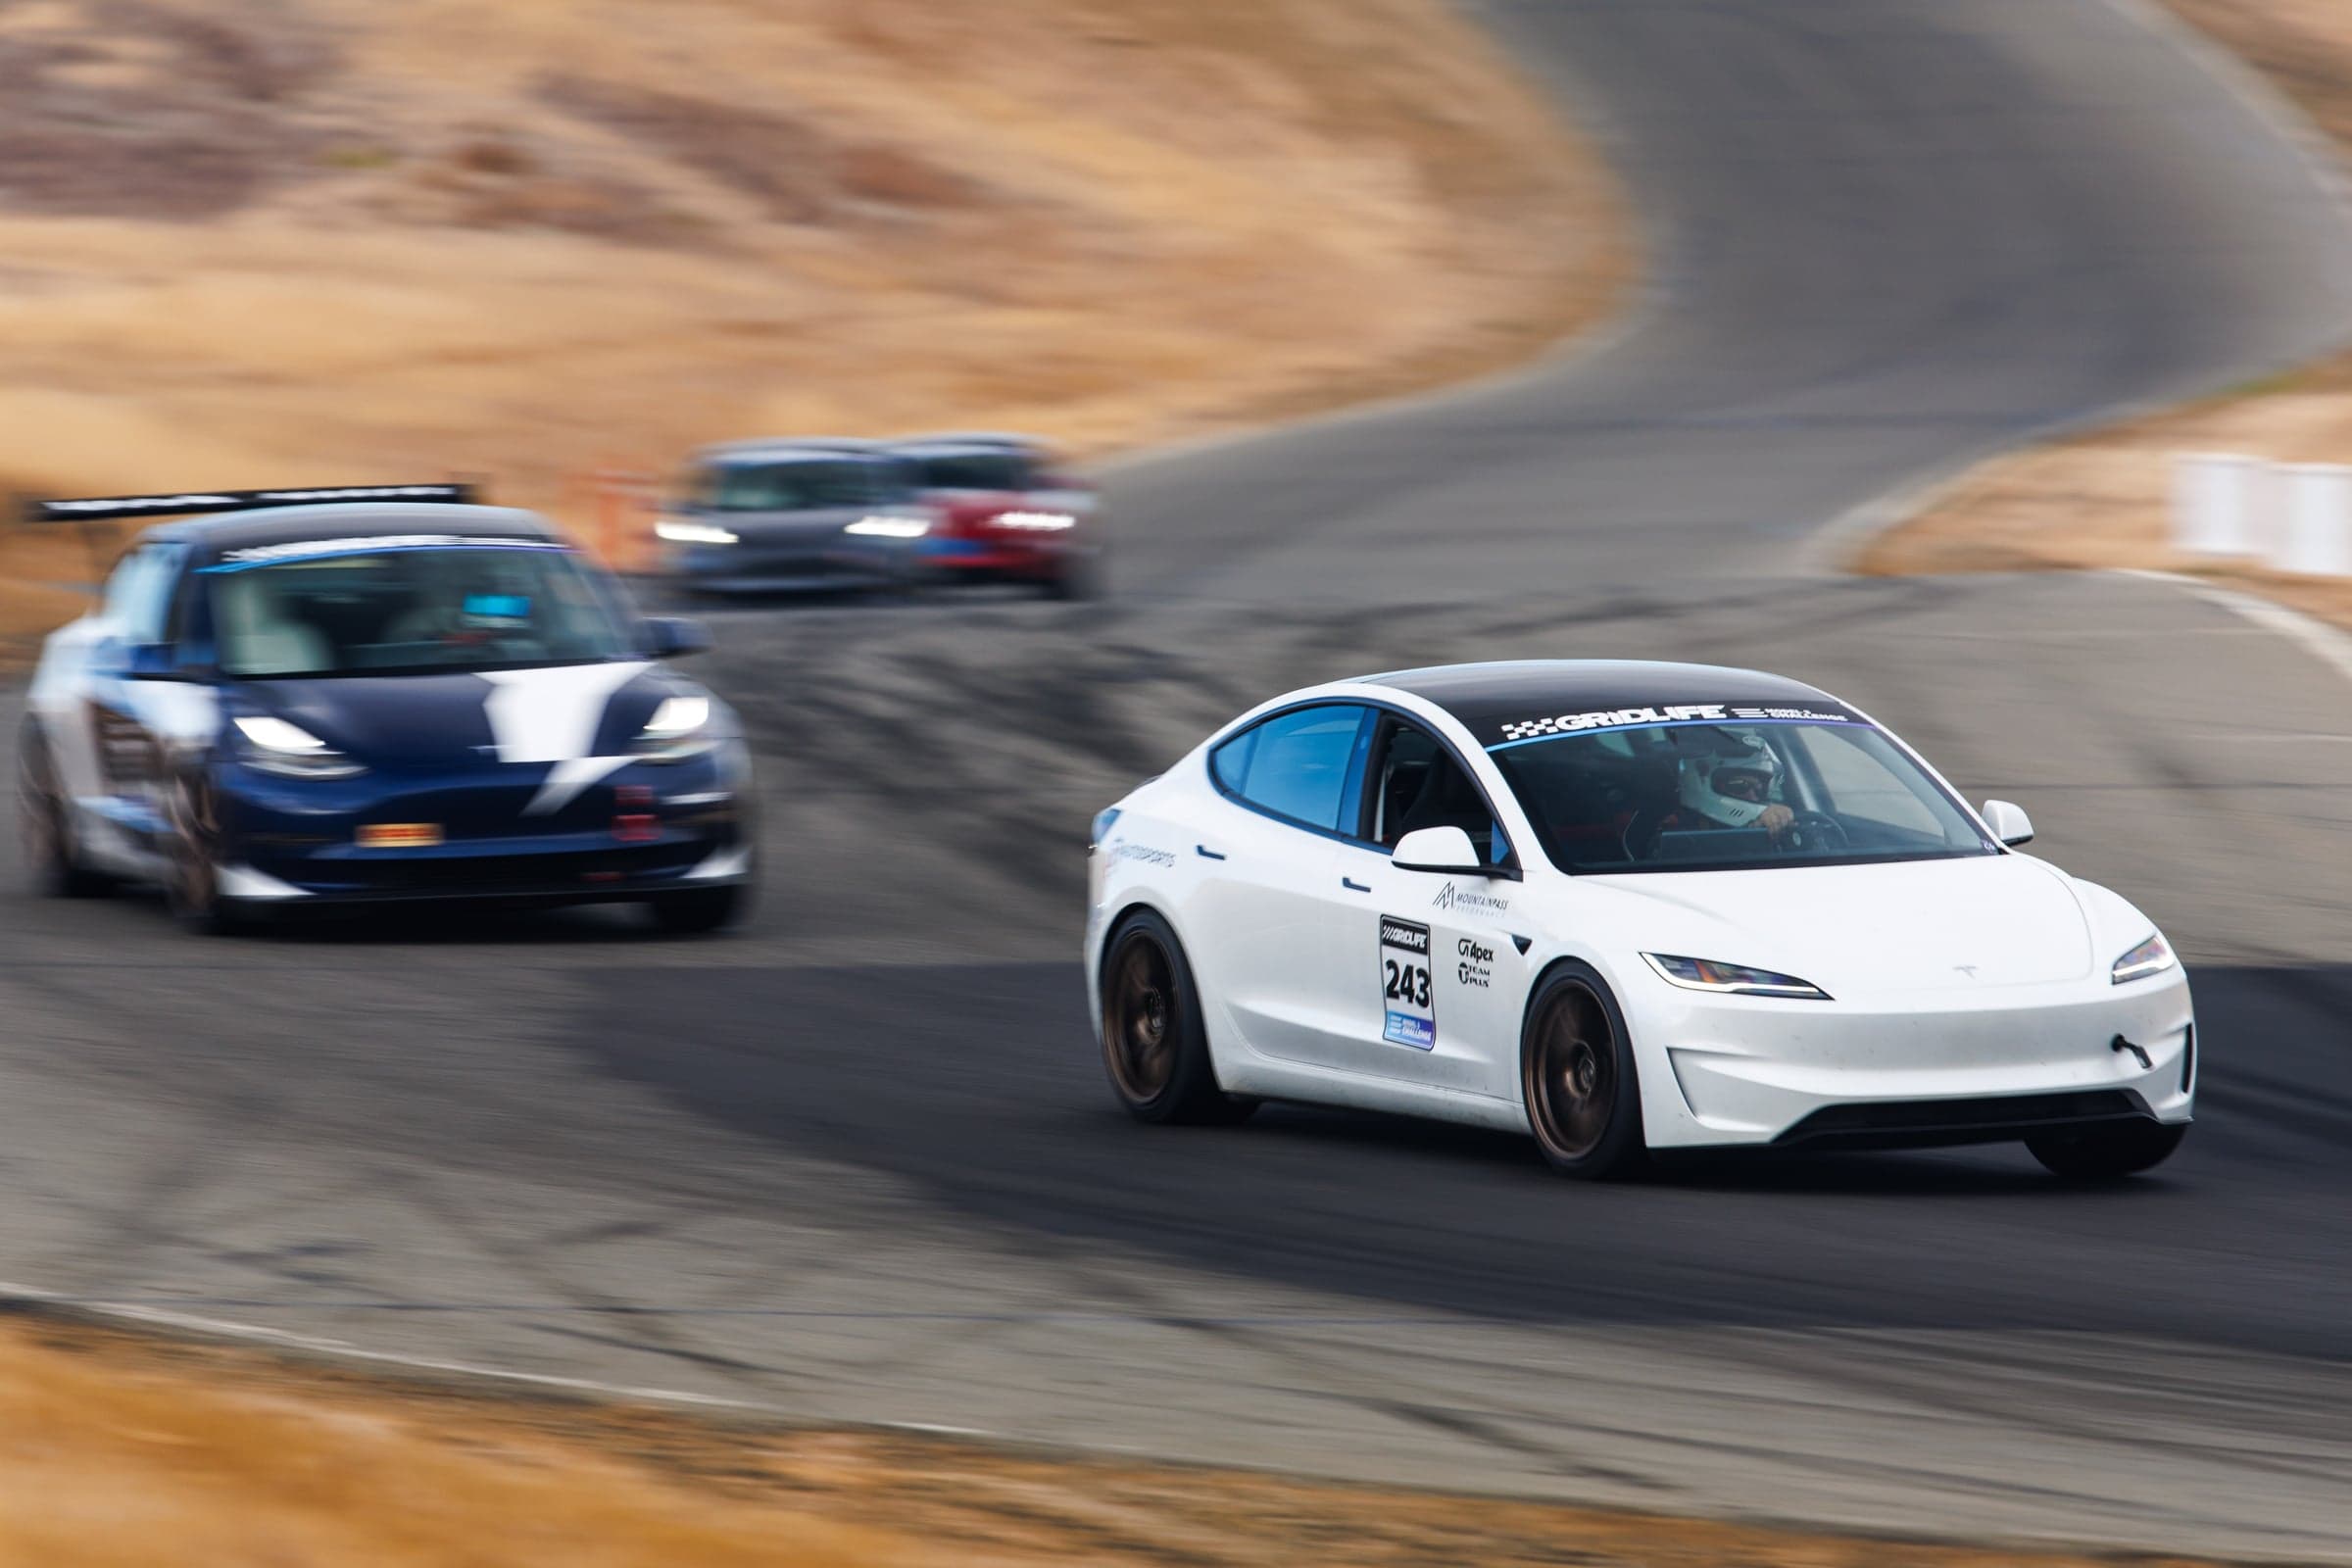

The New L10 Motorsports Sim Rig
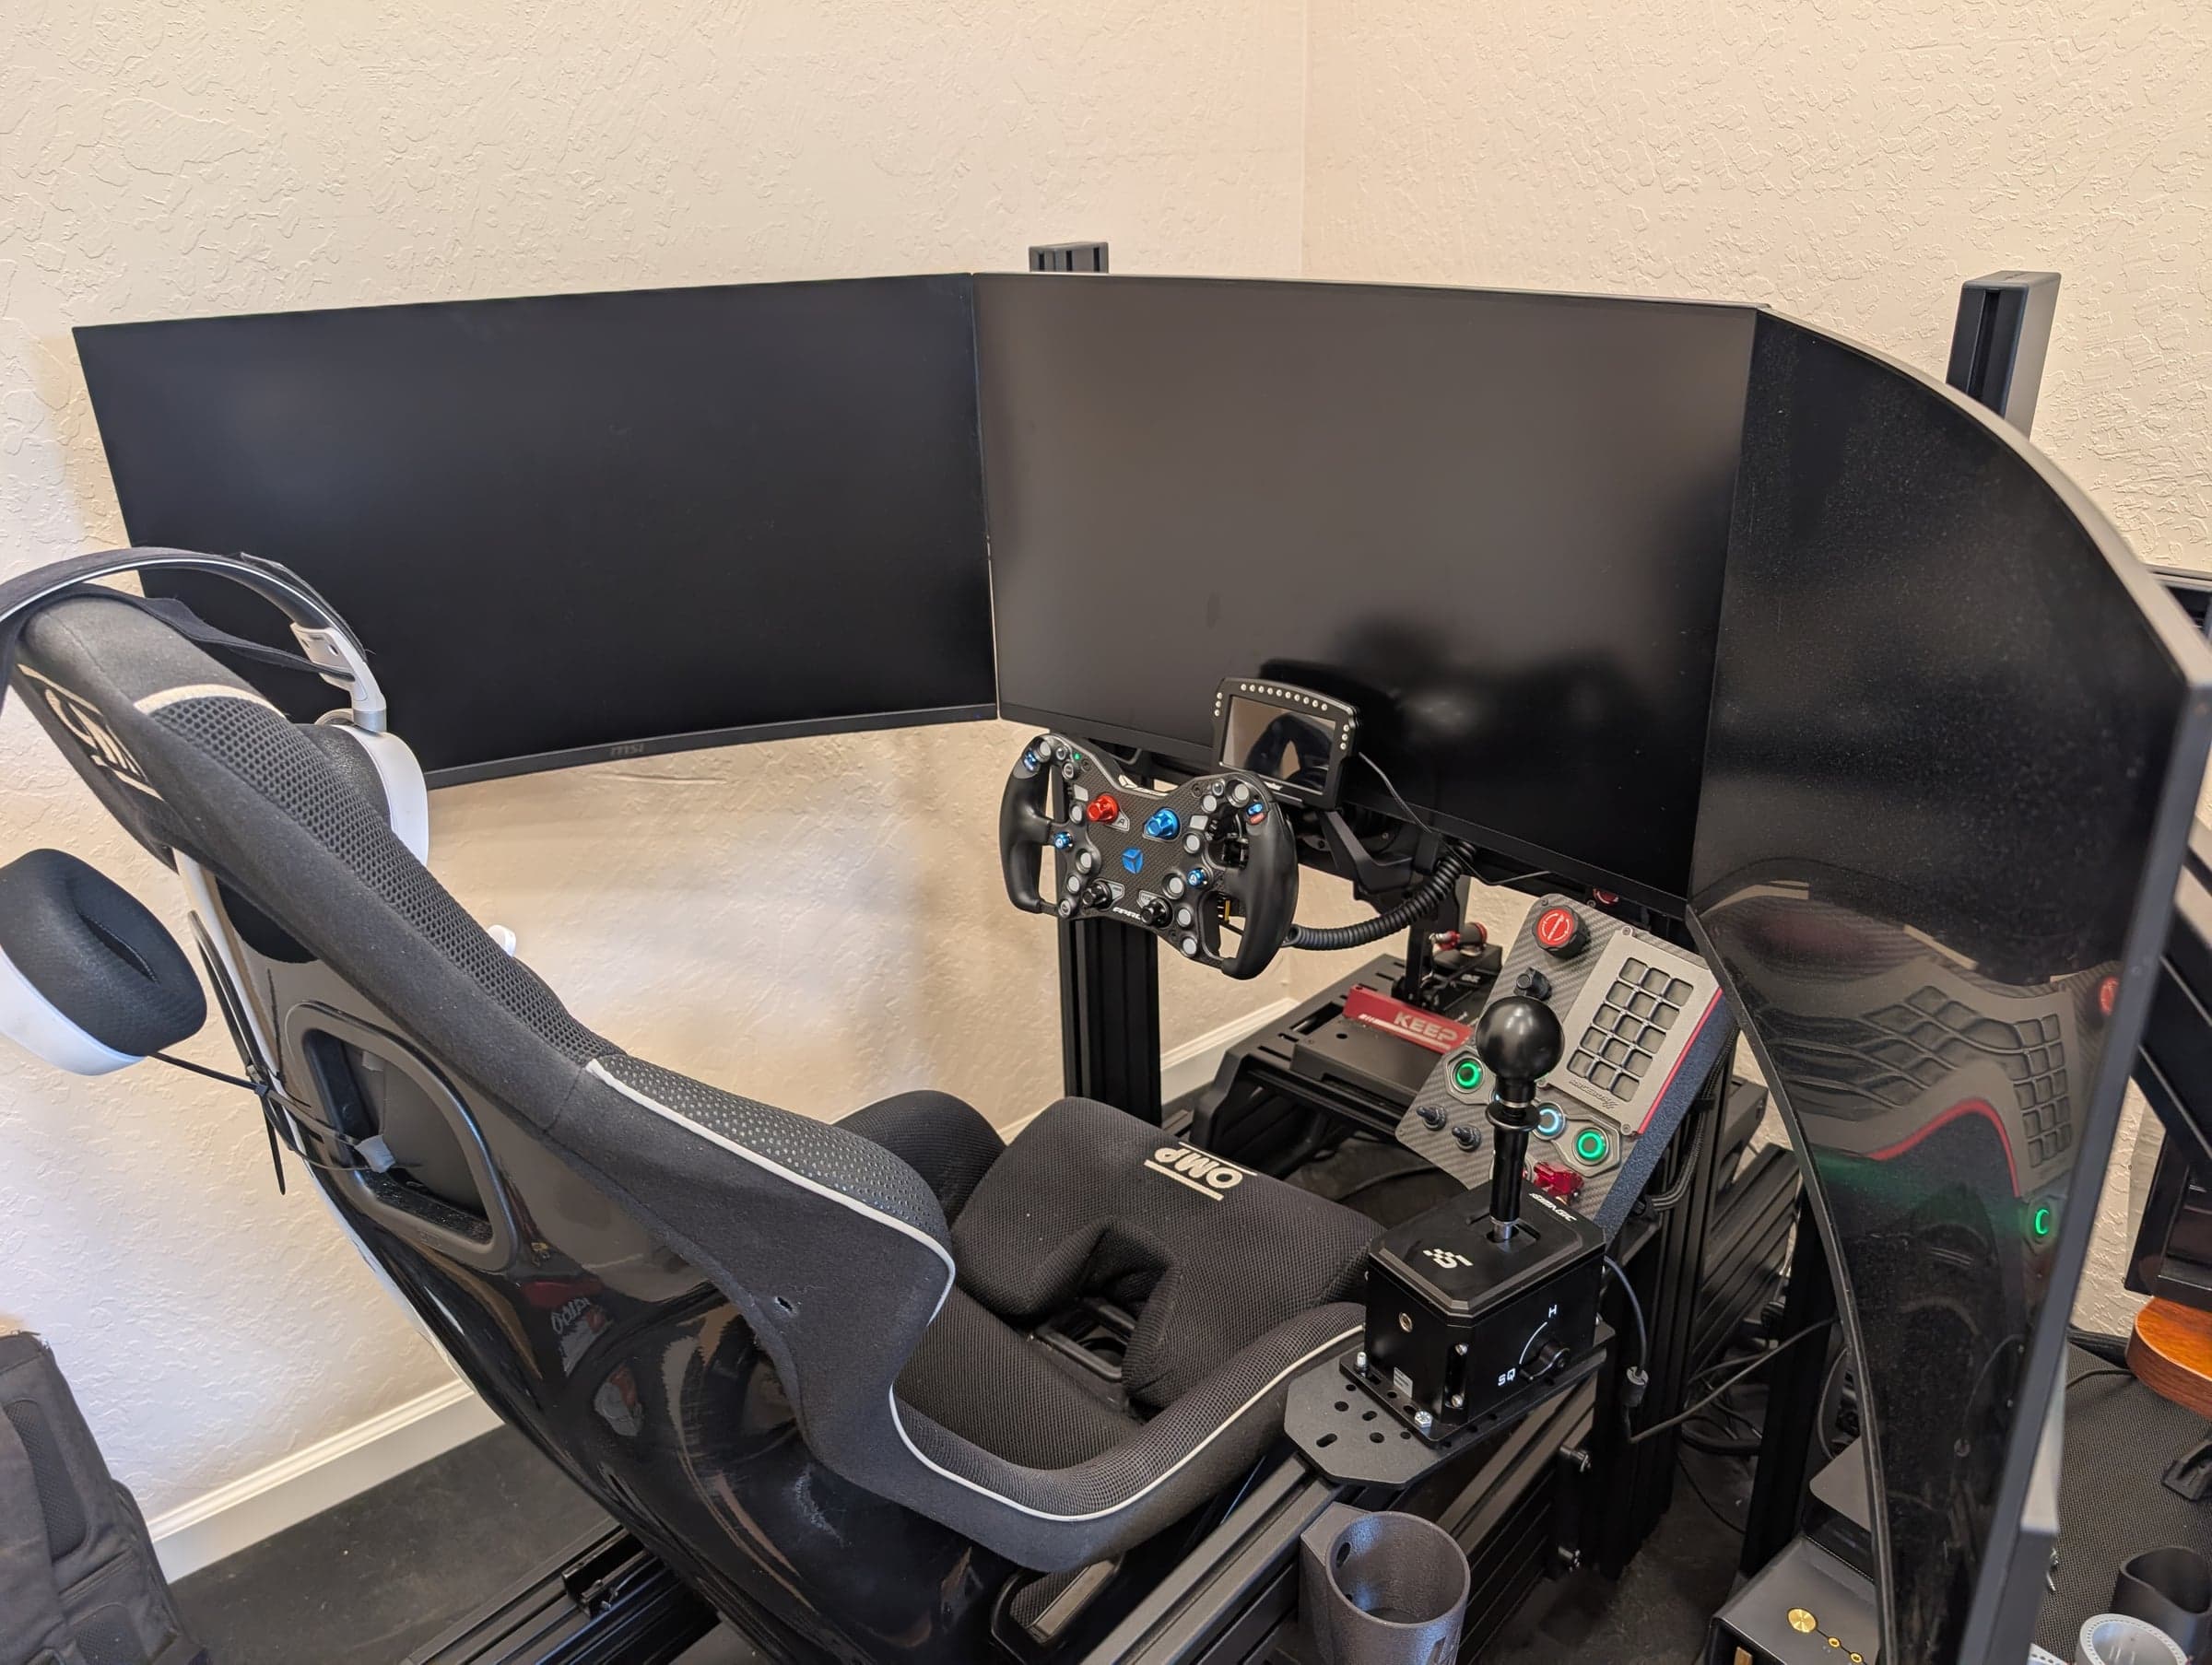
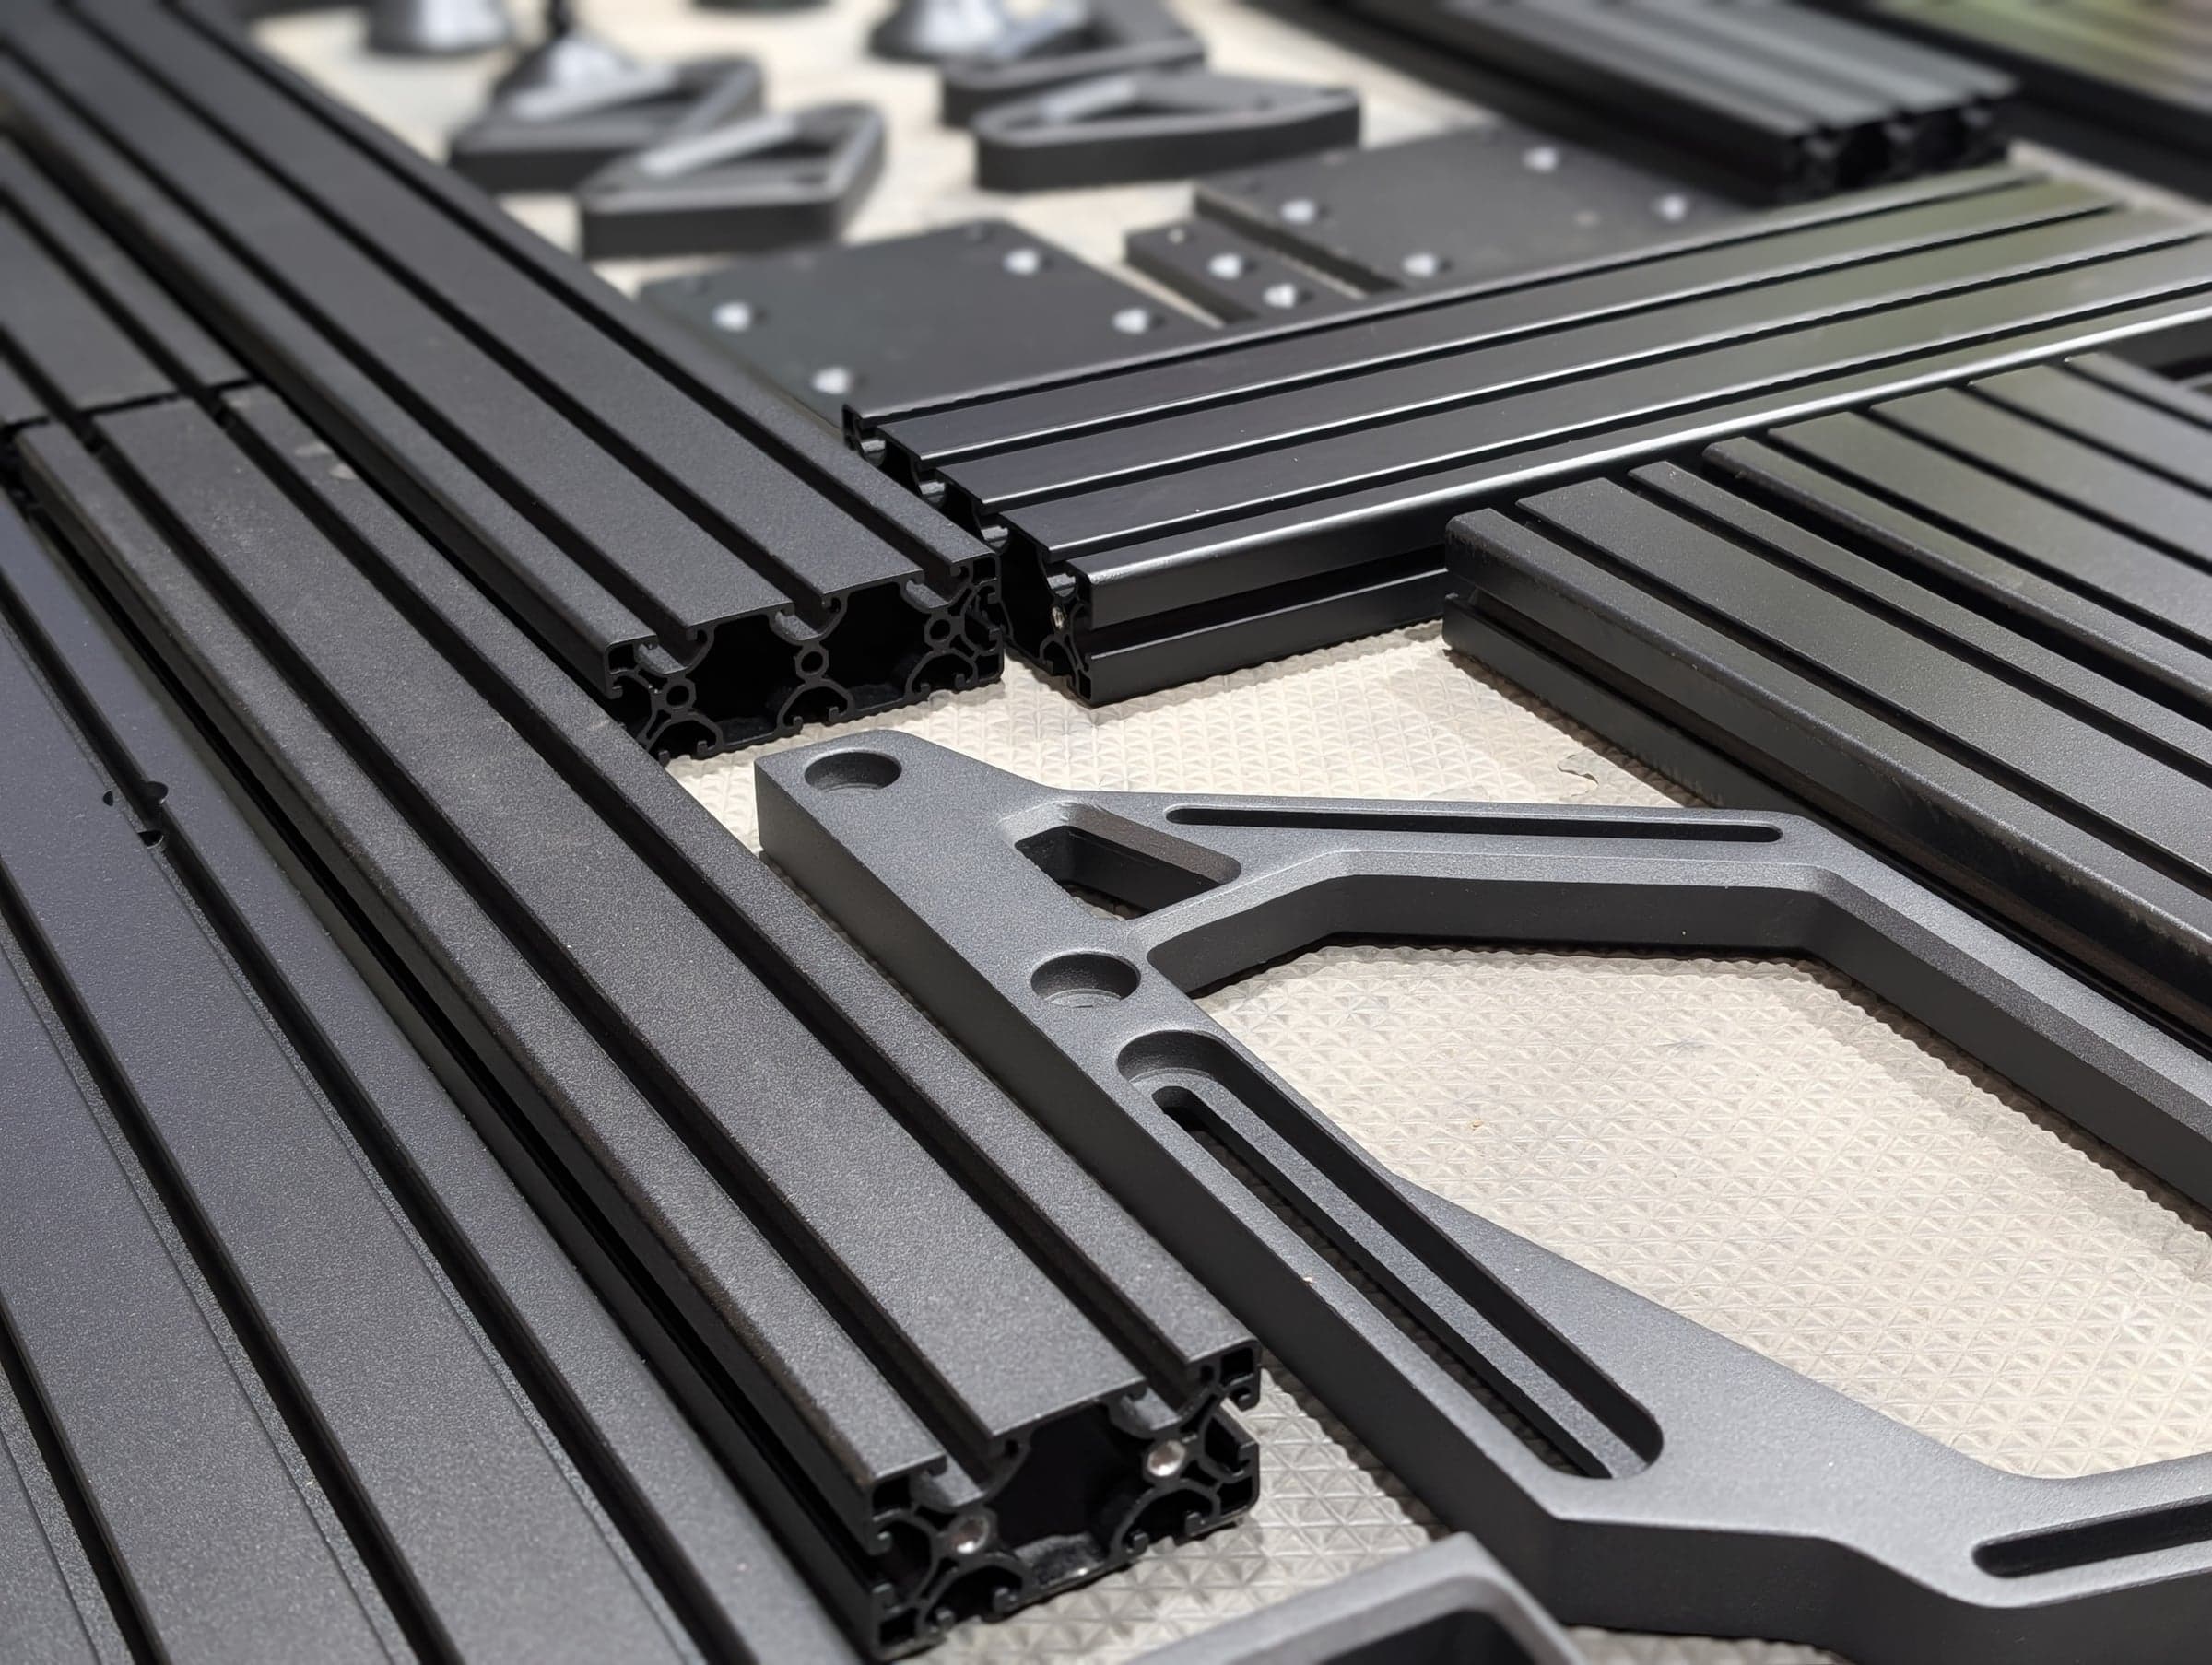
Before moving the simulator into the shop office, I had been using a Trak Racer TR160 at the house for quite a while. It did its job well and was plenty rigid, but when it came time to build a new setup at the shop I wanted to use the chassis I had started recommending to other people: the SimLab P1X.
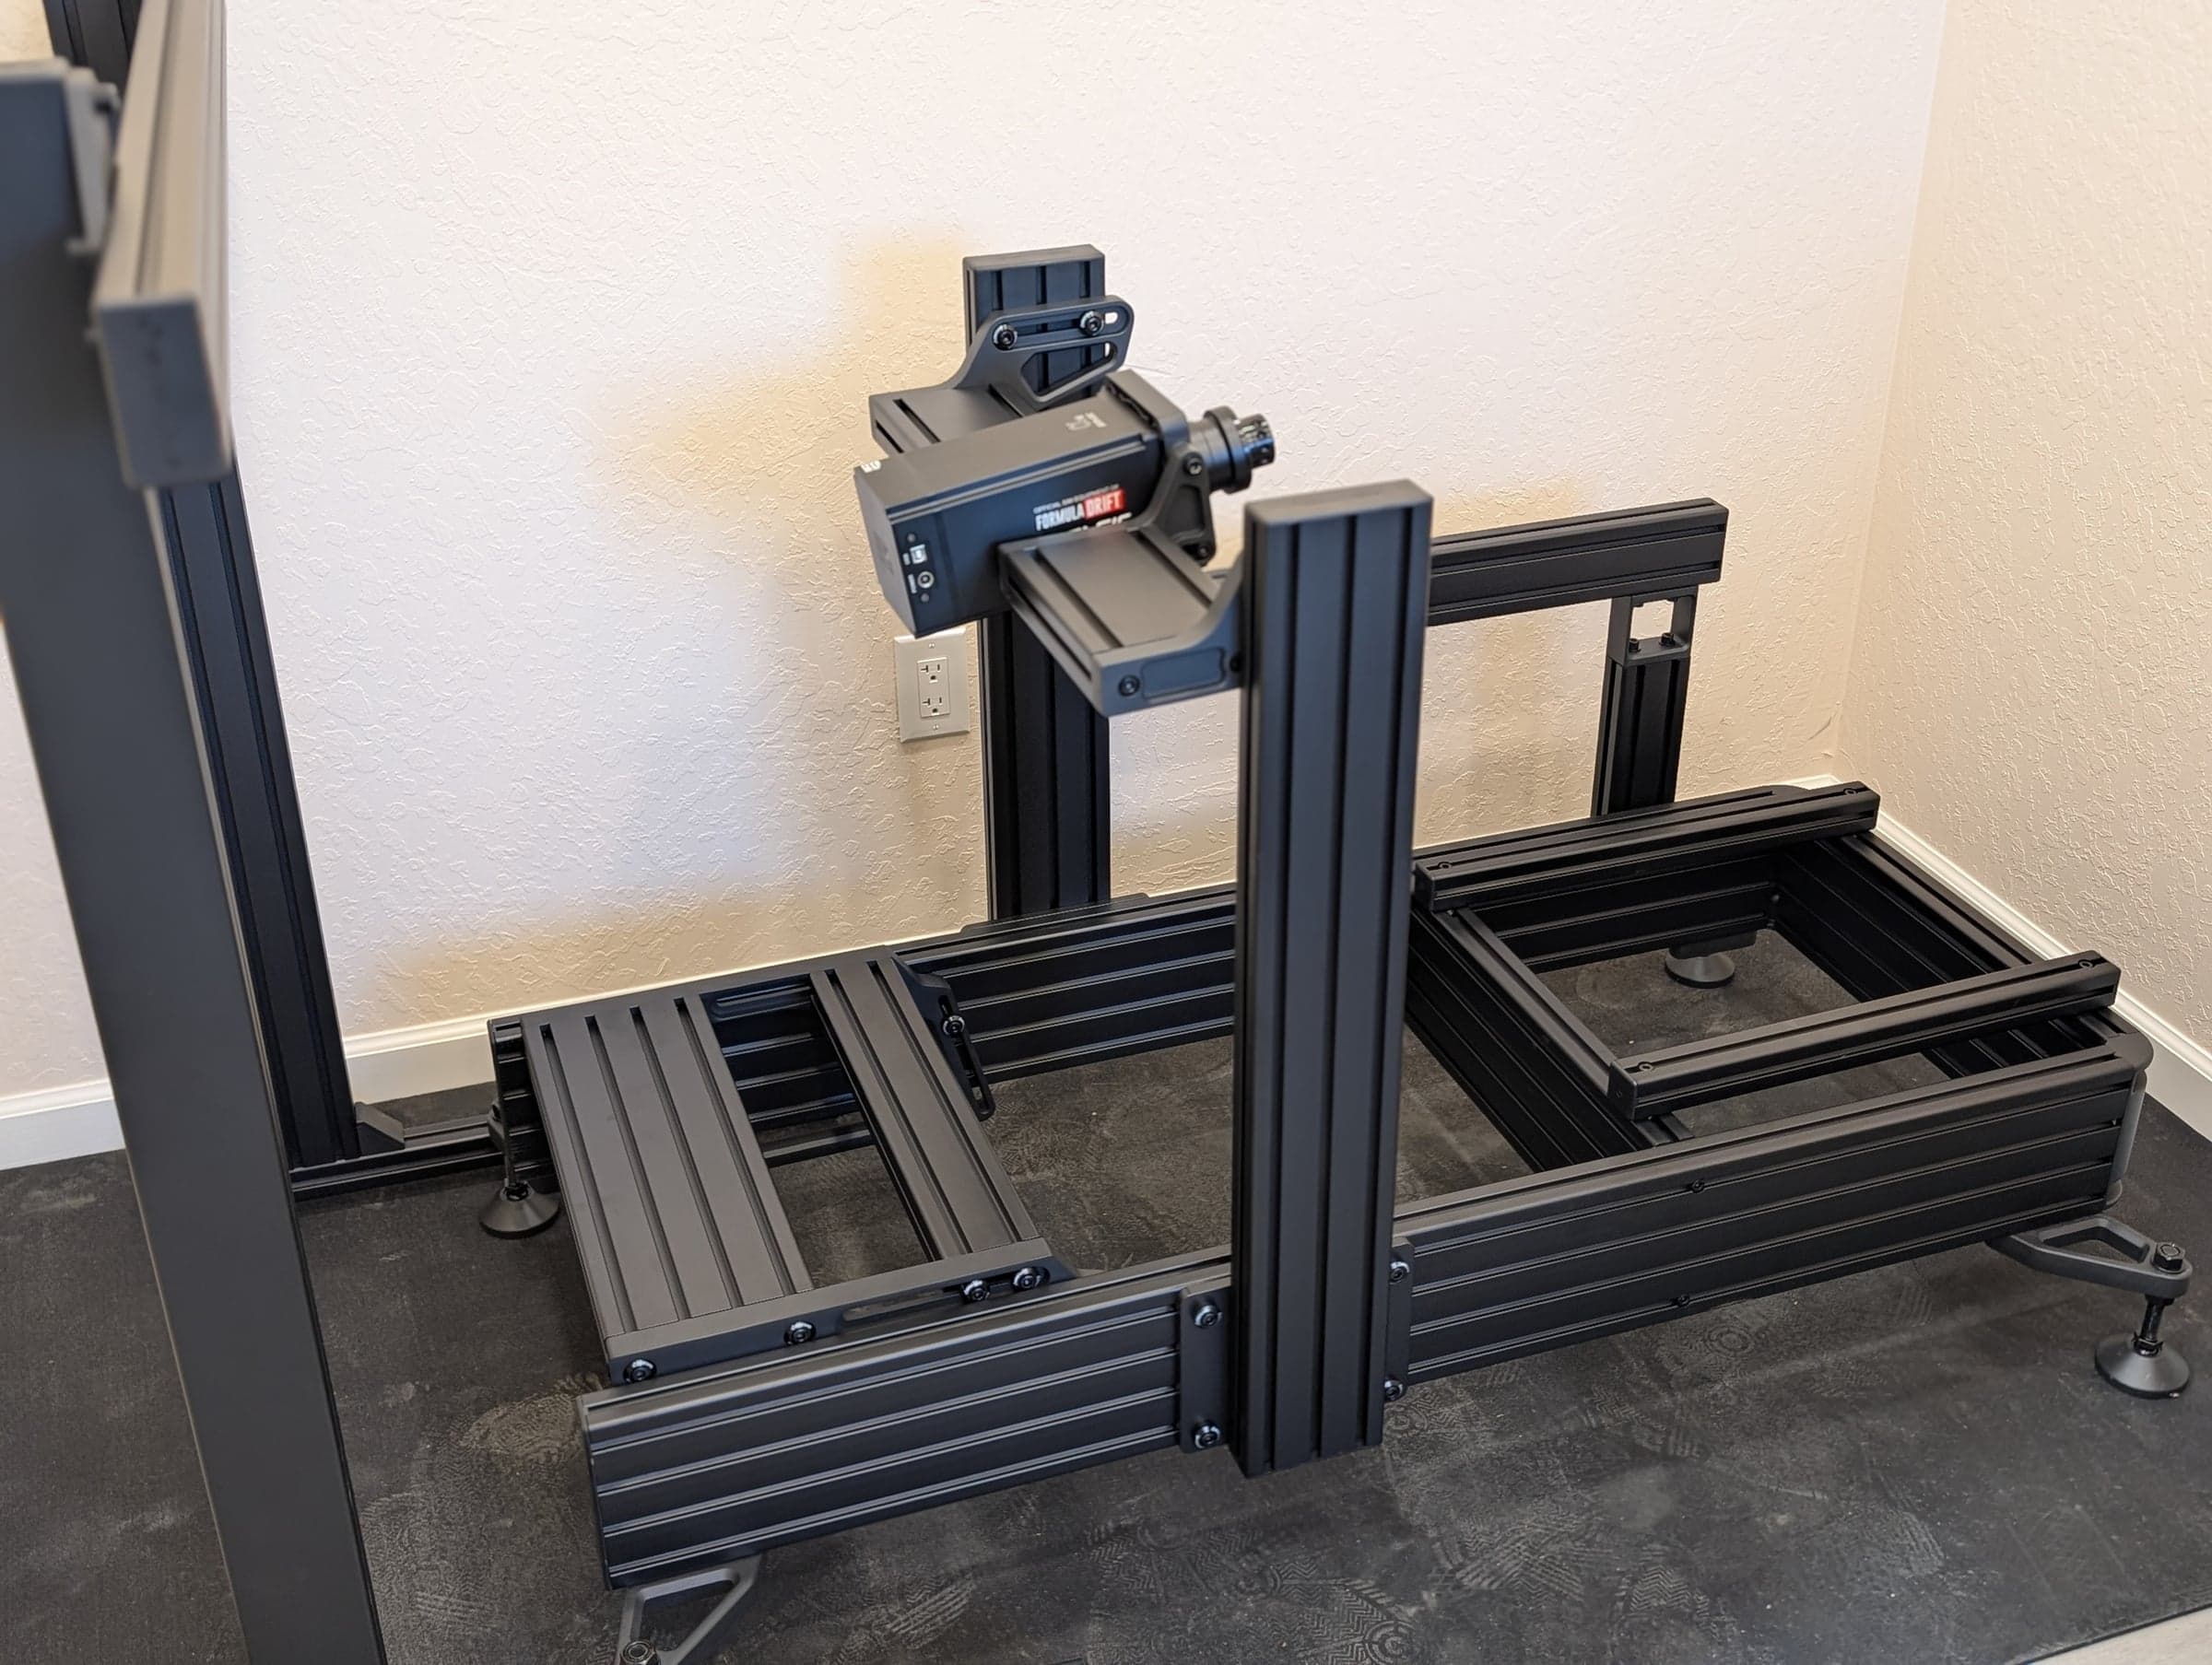
I had already assembled a couple of P1X rigs for other people and came away pretty impressed with them. The fit and finish was better, the hardware was nicer, and the whole thing was just much easier to put together than my old Trak Racer. Both rigs ultimately accomplish the same thing and both are more than rigid enough, but the SimLab is just a much nicer overall experience to build and live with.
So for my own setup I went with the P1X Ultimate.
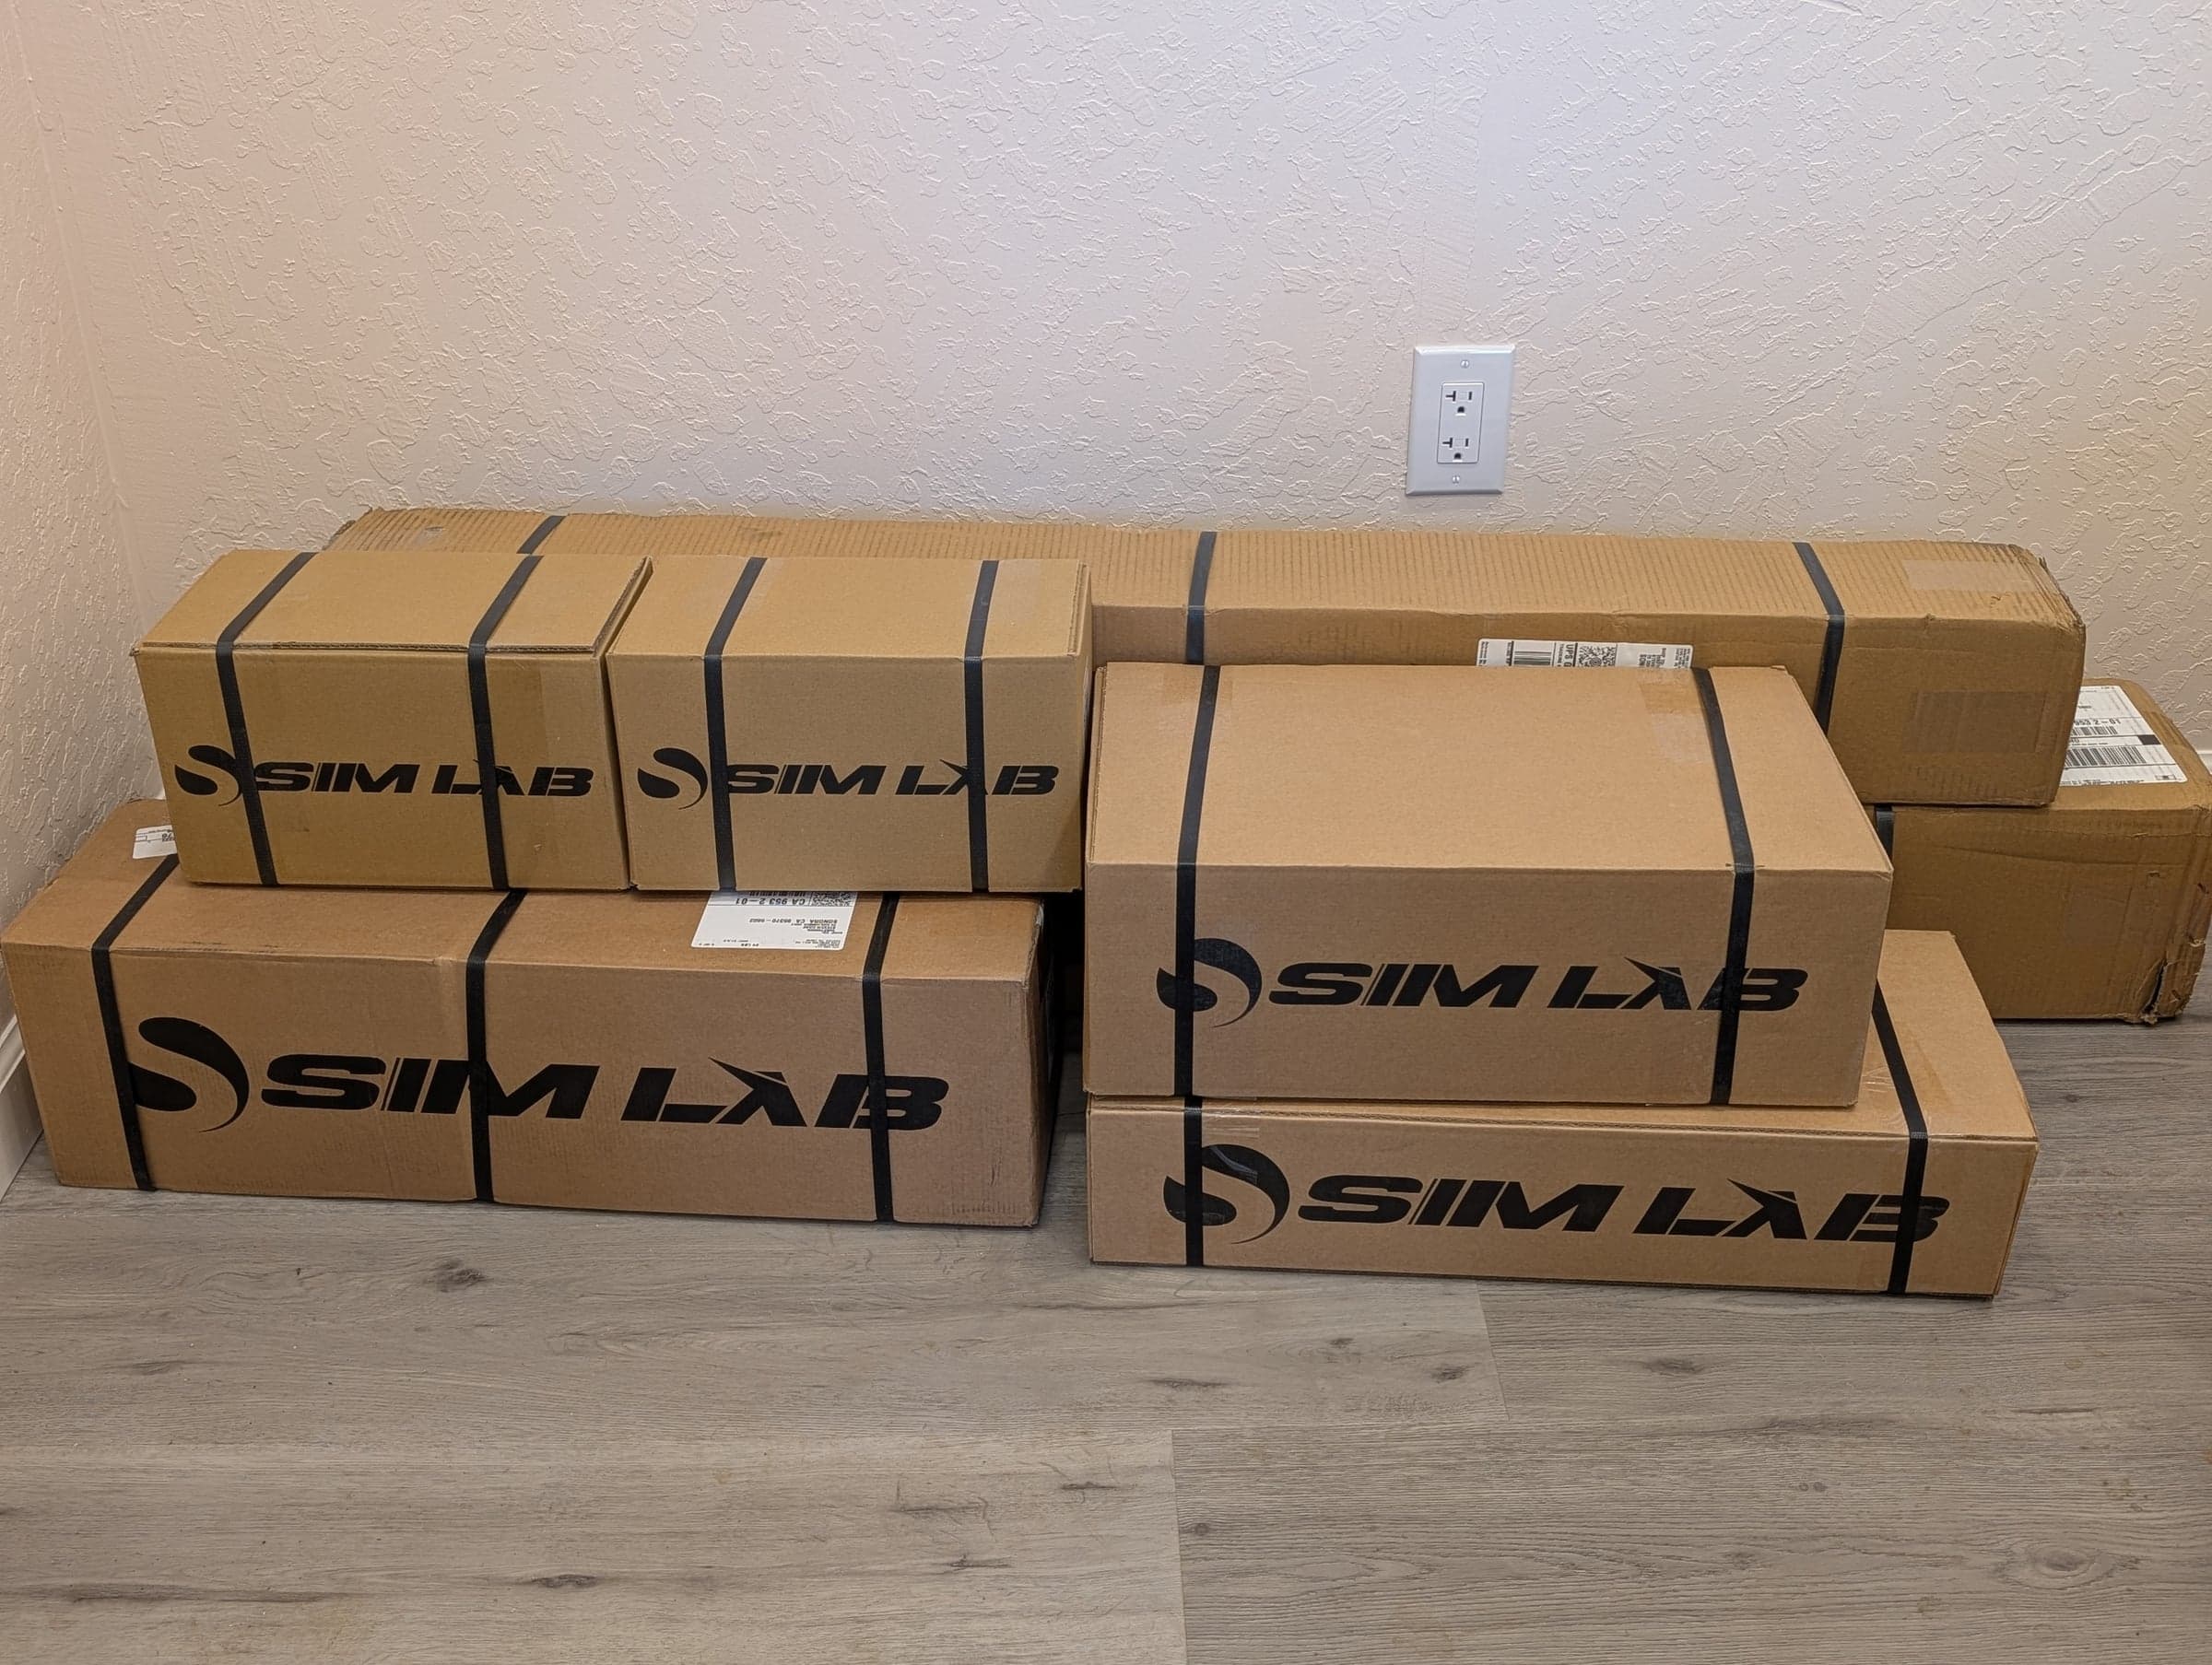
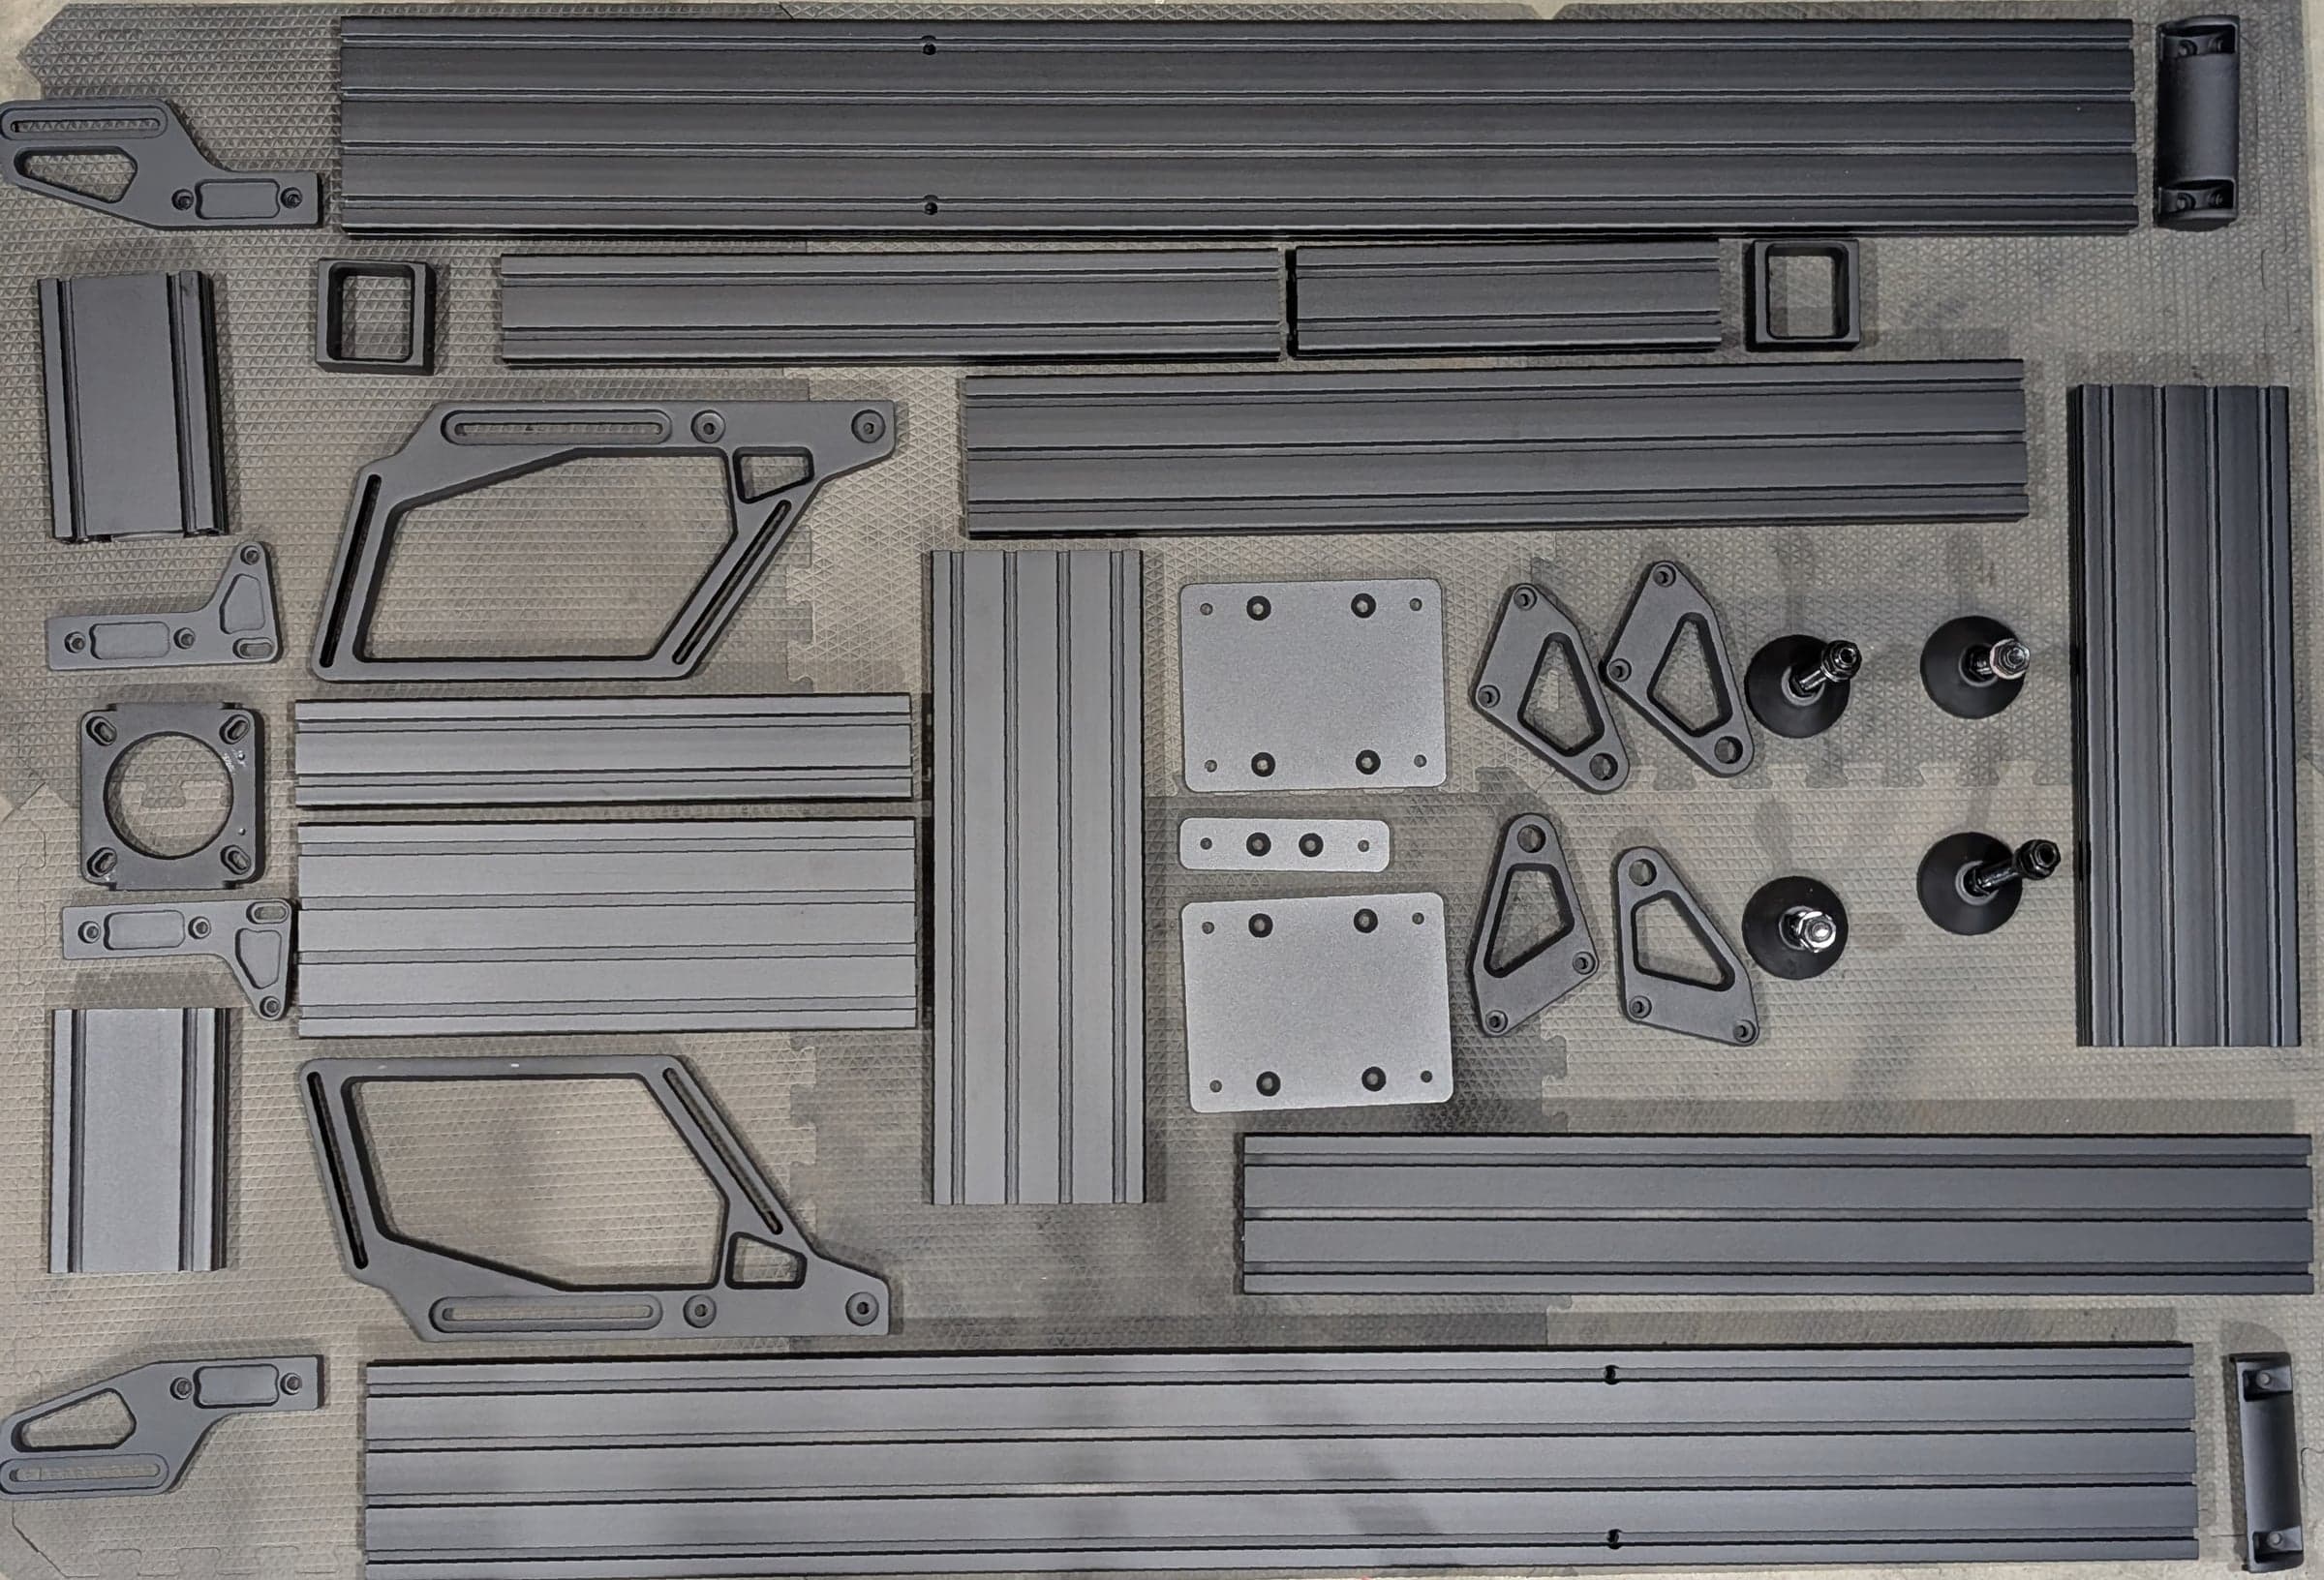
I assembled everything on a large rubber mat in the office, which gives the whole setup a finished area of its own and keeps the aluminum chassis off the concrete floor.
A Familiar Seat
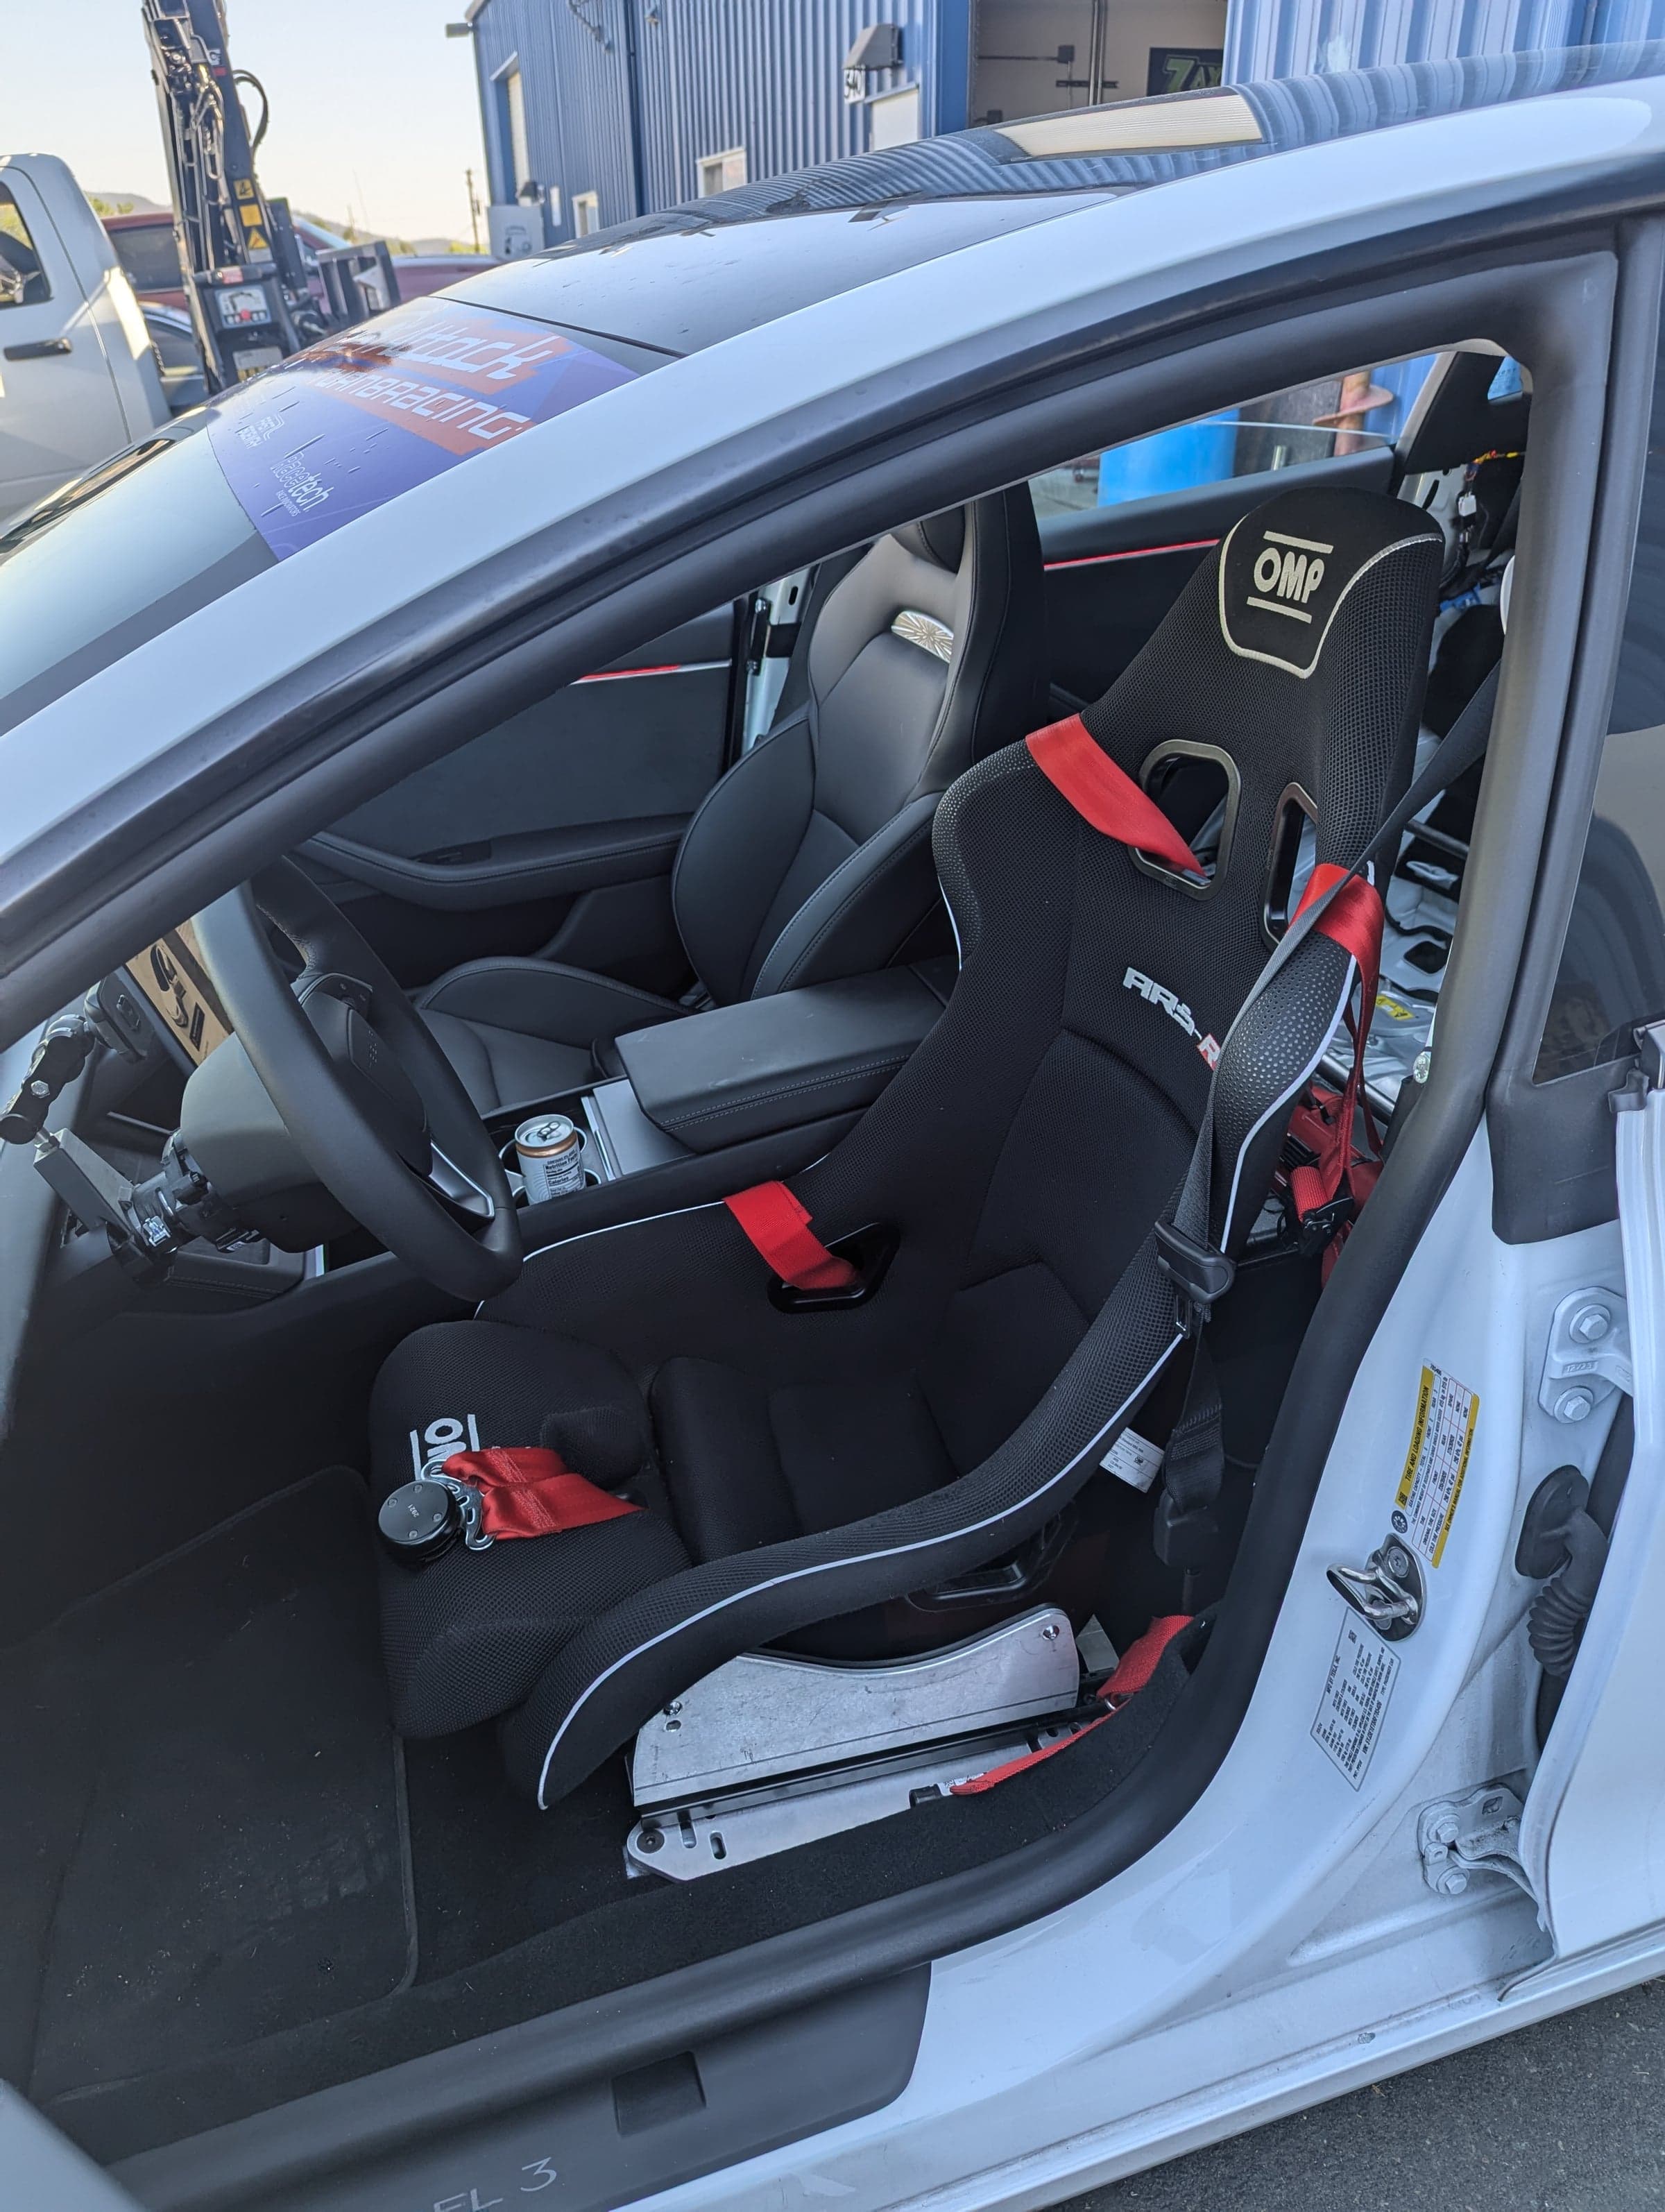
For the seat, I ended up stealing the OMP ARS-R out of my Tesla Model 3.
I had originally installed it when I was tracking the Tesla, but now that I'm not really doing that anymore it made a lot more sense to put it to use in the simulator.
It's a really comfortable seat while still being supportive enough to feel like it belongs in a proper driving setup, especially during longer sessions.
I reused the custom seat brackets I had already designed for it, which let me get the position exactly where I wanted it on the P1X without having to compromise on seat height or angle.
Freestanding Triple Monitors
Another change from the old setup was moving away from an integrated triple monitor stand.
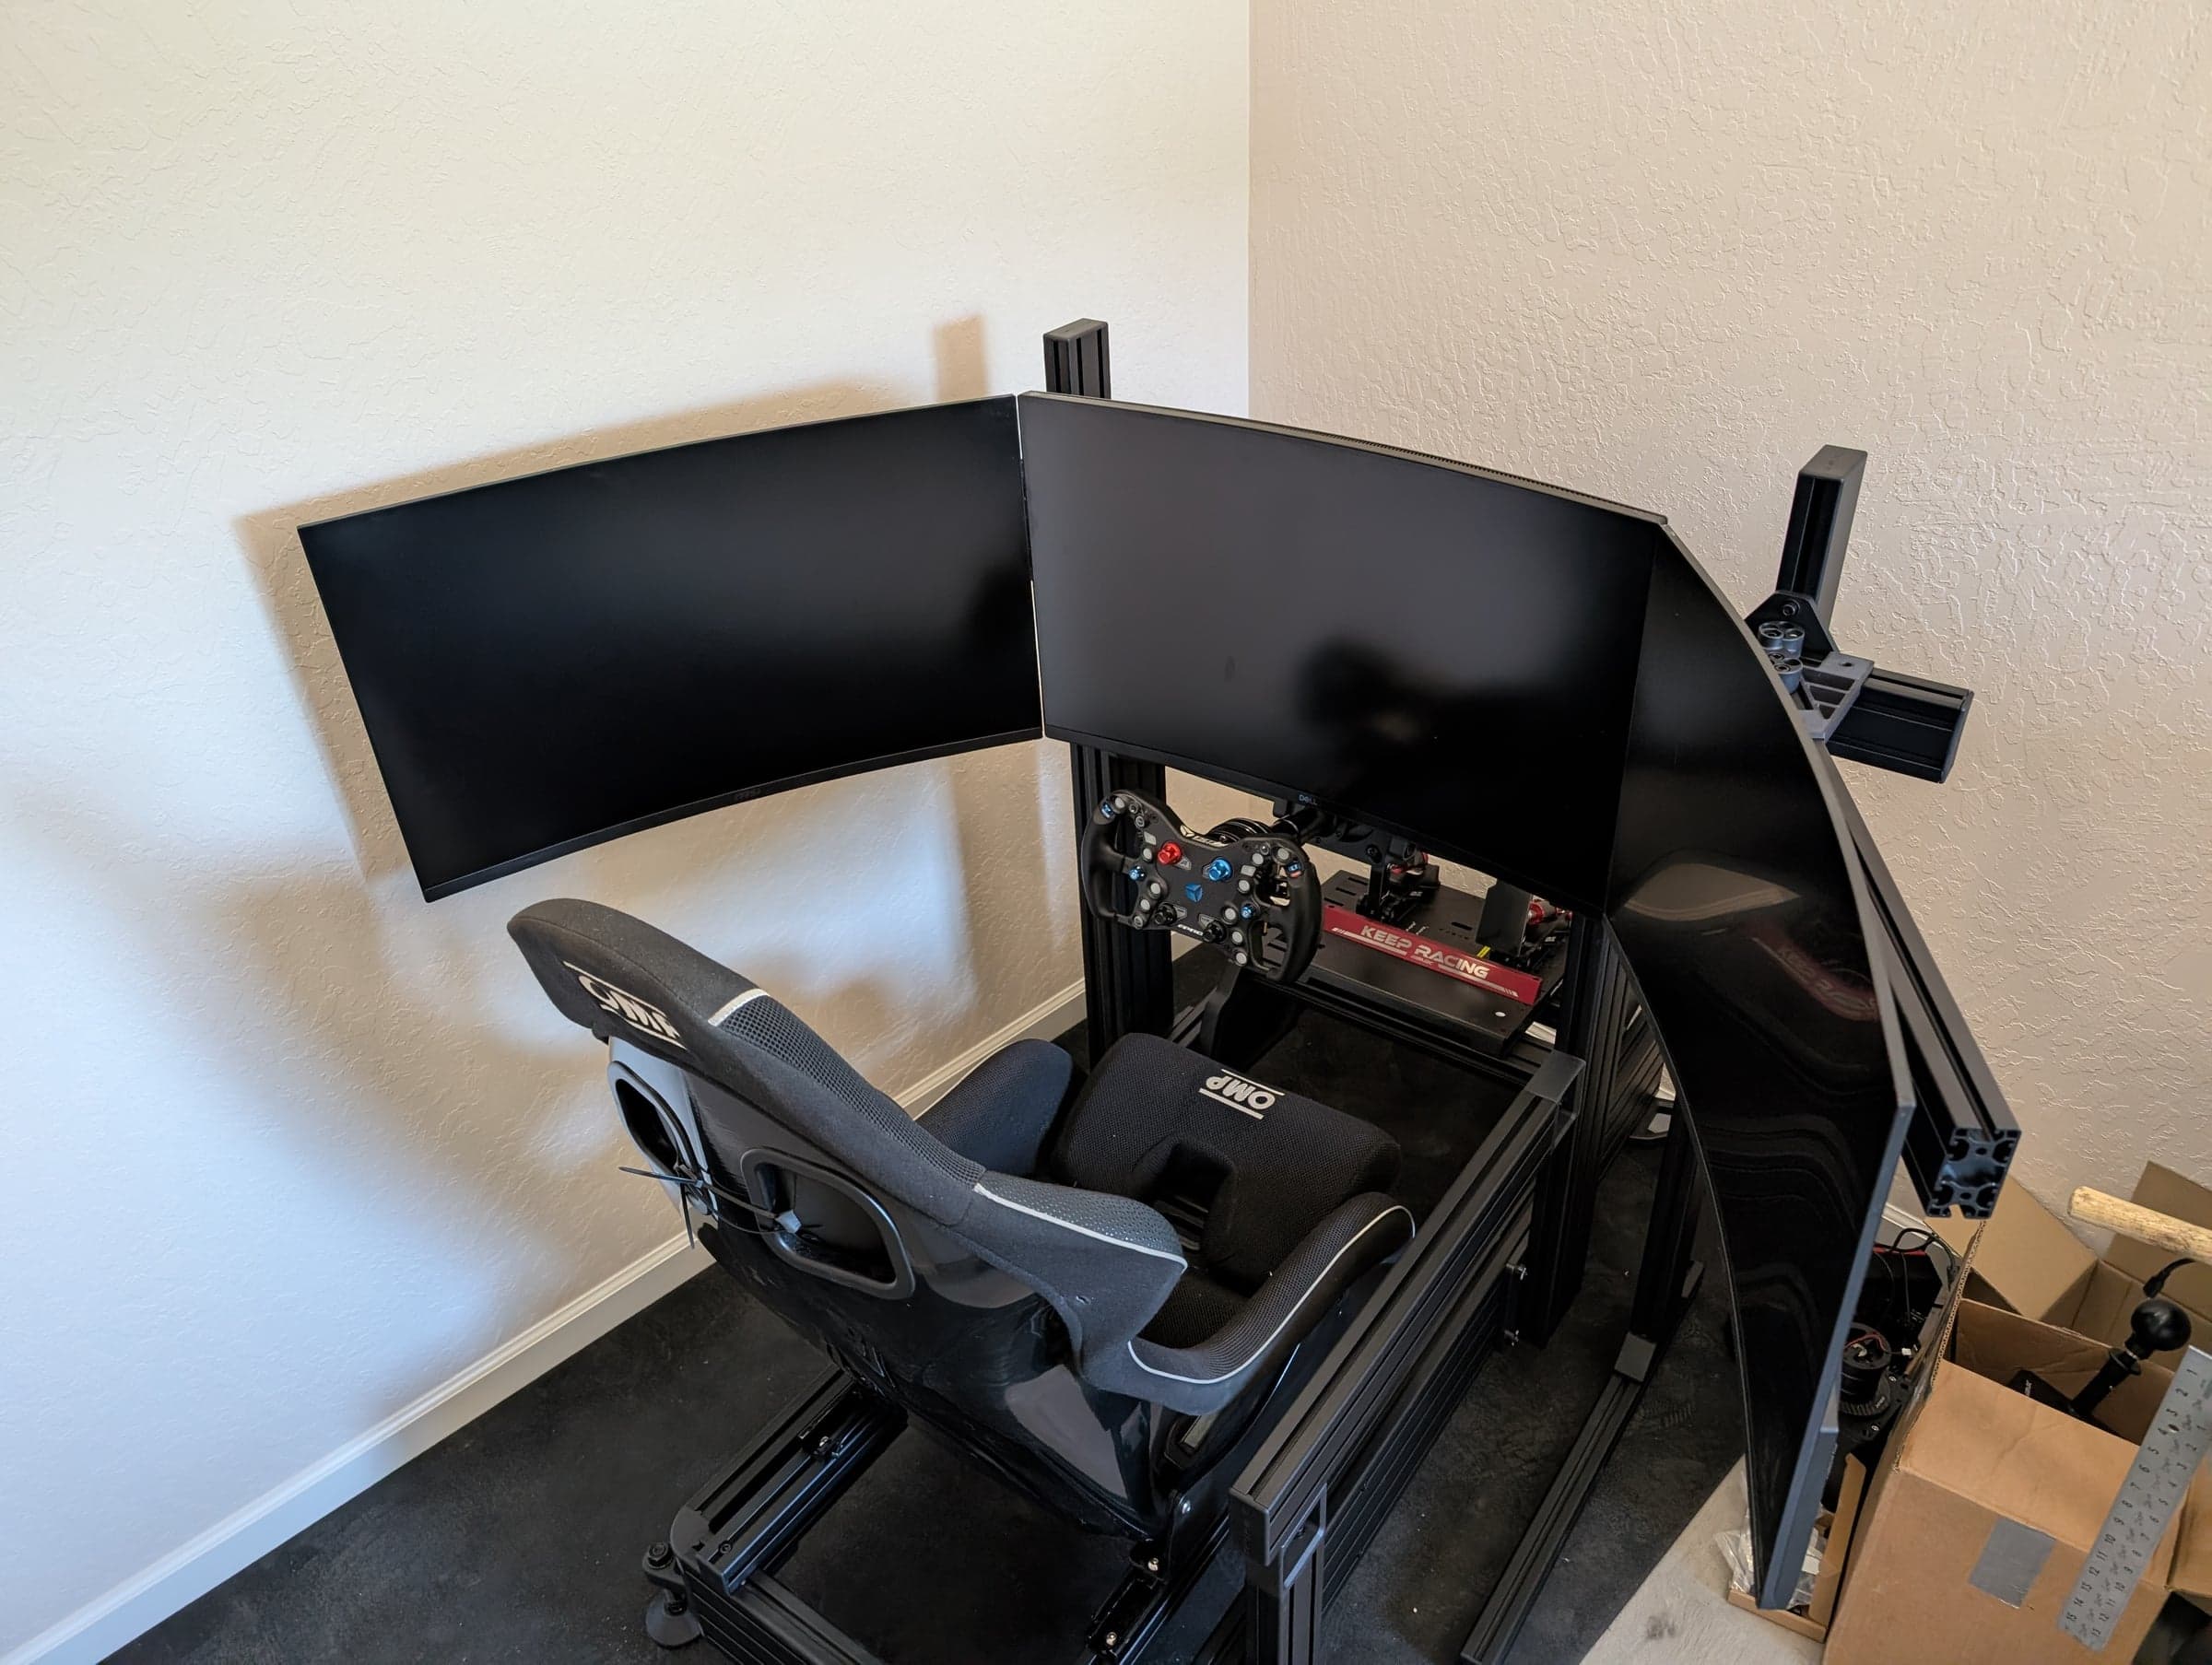
My TR160 had the monitors attached directly to the rig. It worked, but for this build I went with SimLab's freestanding triple monitor stand instead.
The biggest improvement here is actually the VESA mounting system.
Getting three monitors perfectly aligned can be one of the more frustrating parts of building a triple-screen simulator. SimLab's mounts allow really fine adjustment of each display, so getting the height, angle and seams lined up is considerably easier.
There is also another big advantage to separating the monitors from the chassis: vibration.
I'm using haptics on the rig, and with an integrated monitor mount those vibrations get transferred directly into the displays. The monitors can end up shaking or wiggling along with the chassis.
With the freestanding stand, the monitors are isolated from the rig itself, so all of that haptic energy stays where I actually want it instead of making the screens move around.
I also designed and printed a custom enclosure for all of the monitor power supplies. Instead of having three power bricks laying on the floor or strapped somewhere around the rig, they are all contained in one box mounted directly to the freestanding monitor stand.
It cleans up a surprising amount of clutter and keeps all of the monitor-related wiring together in one place.
Making Everything Fit
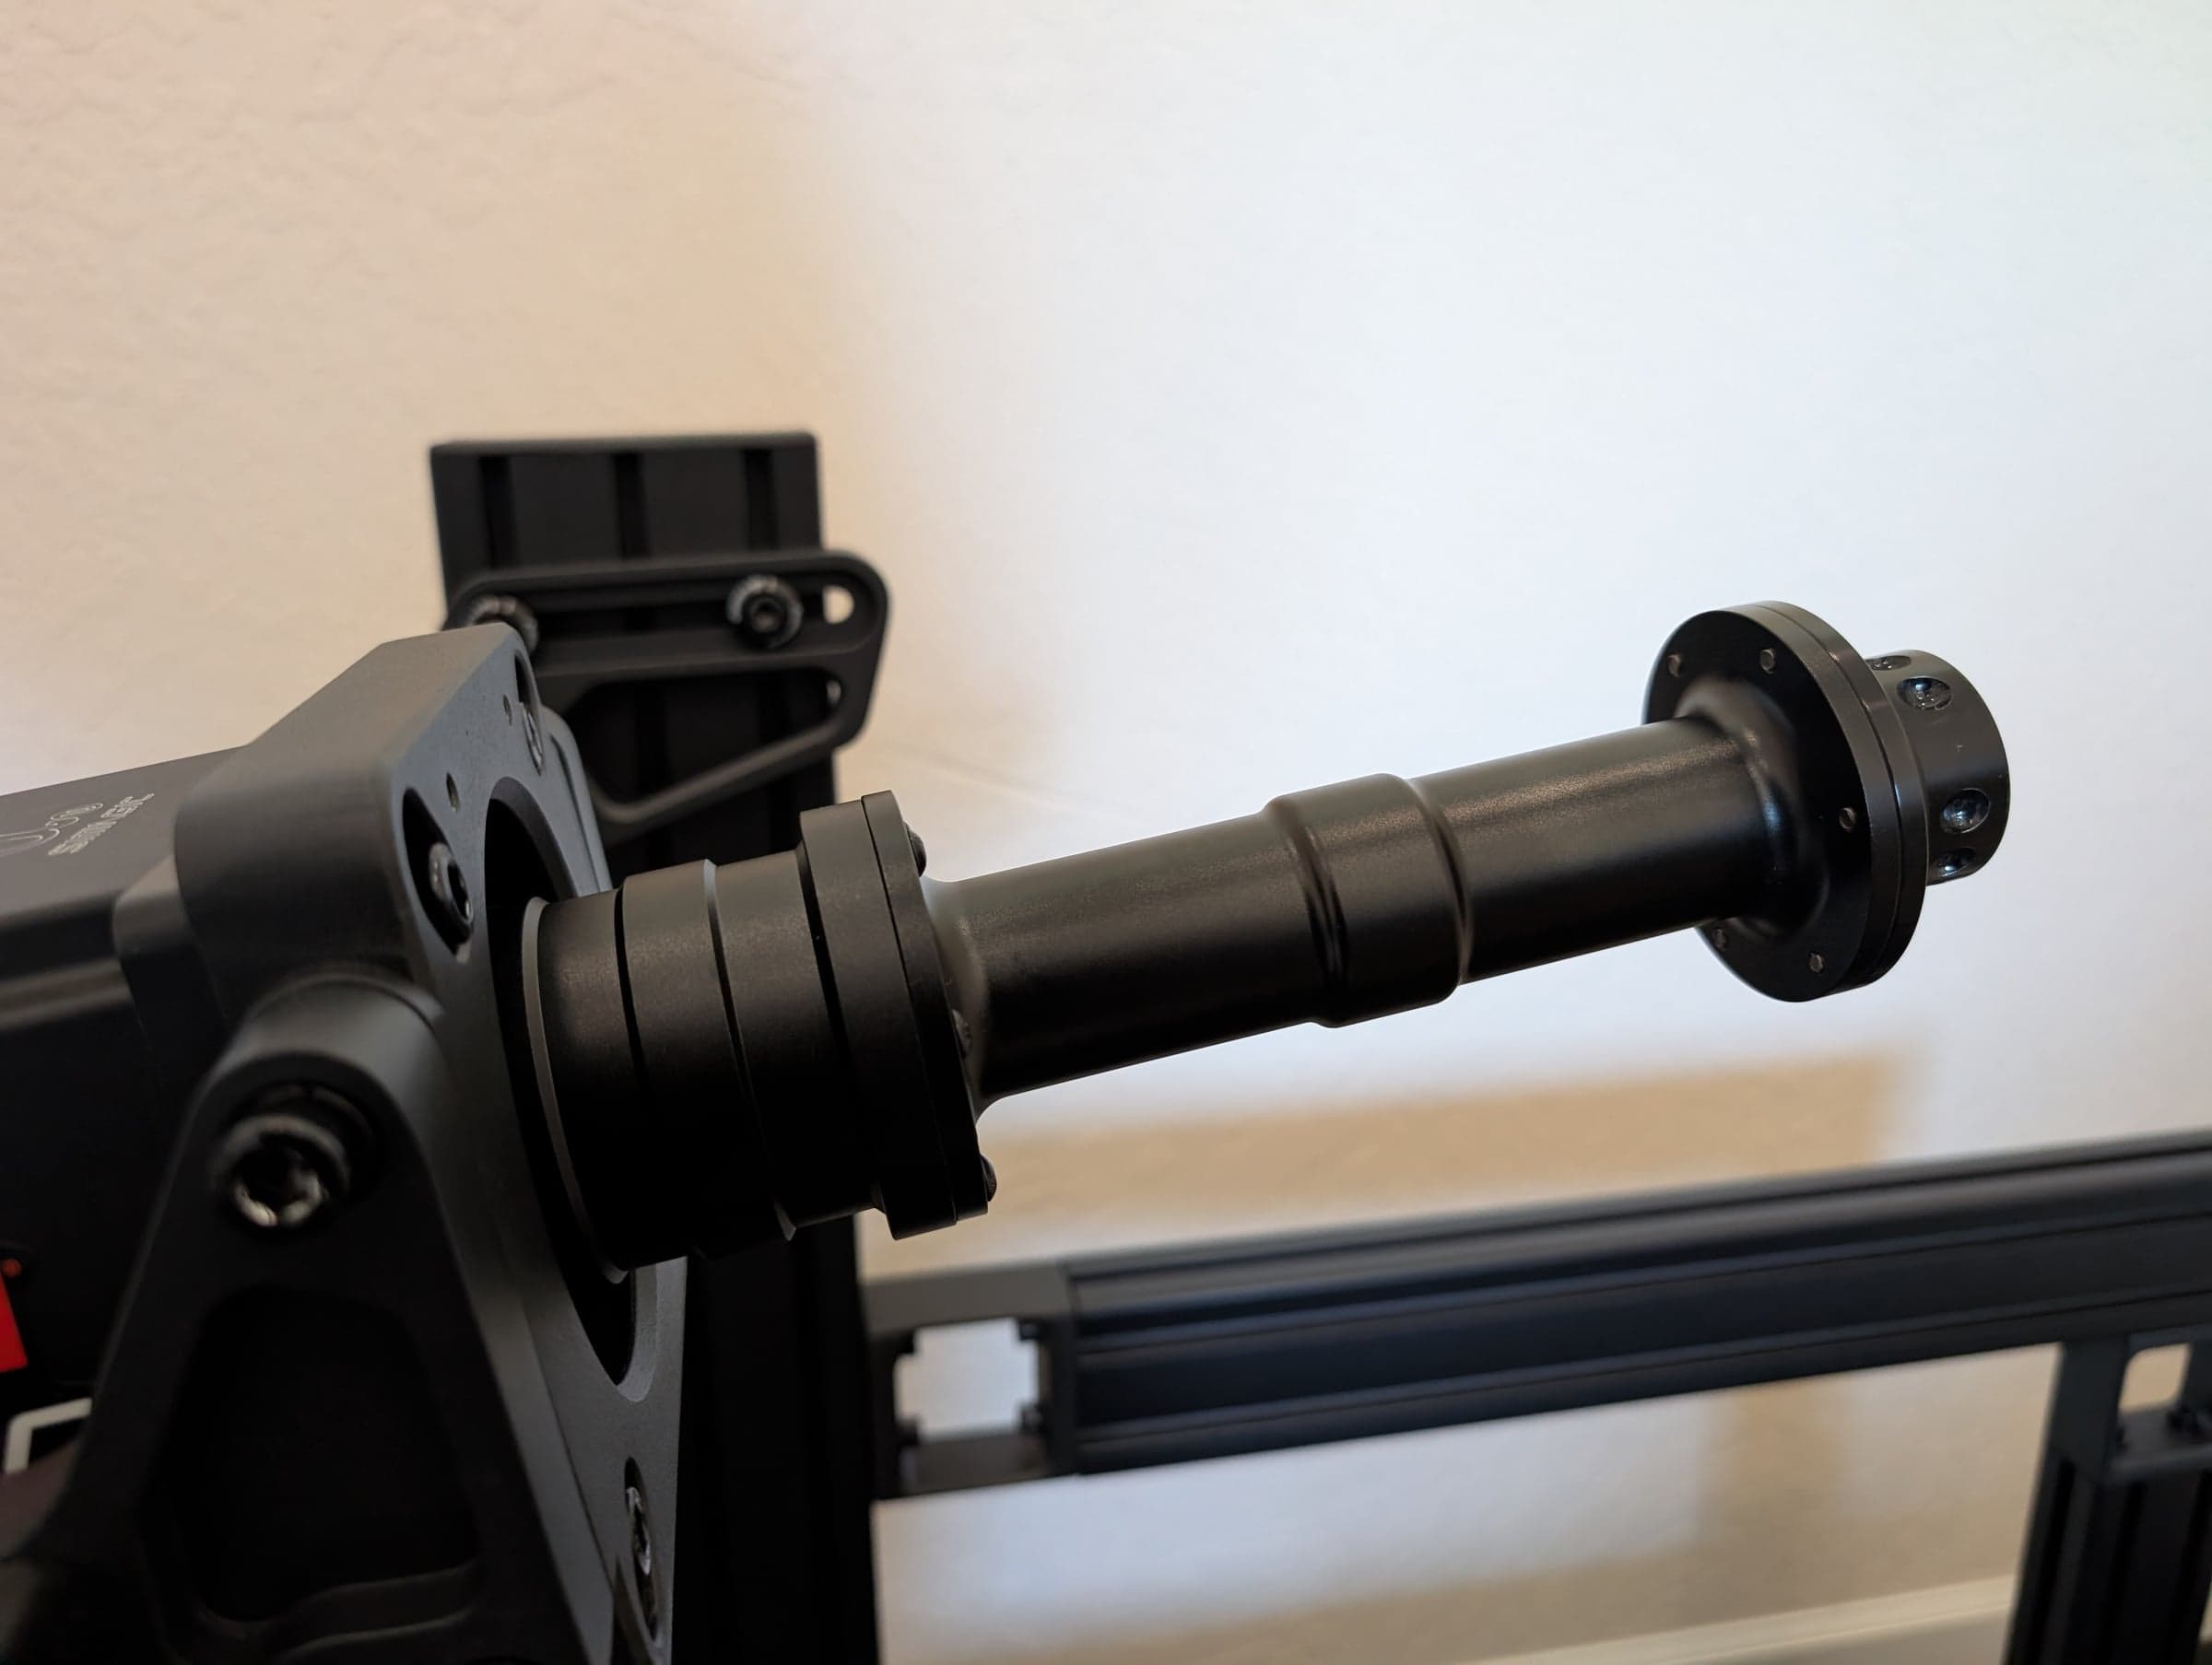
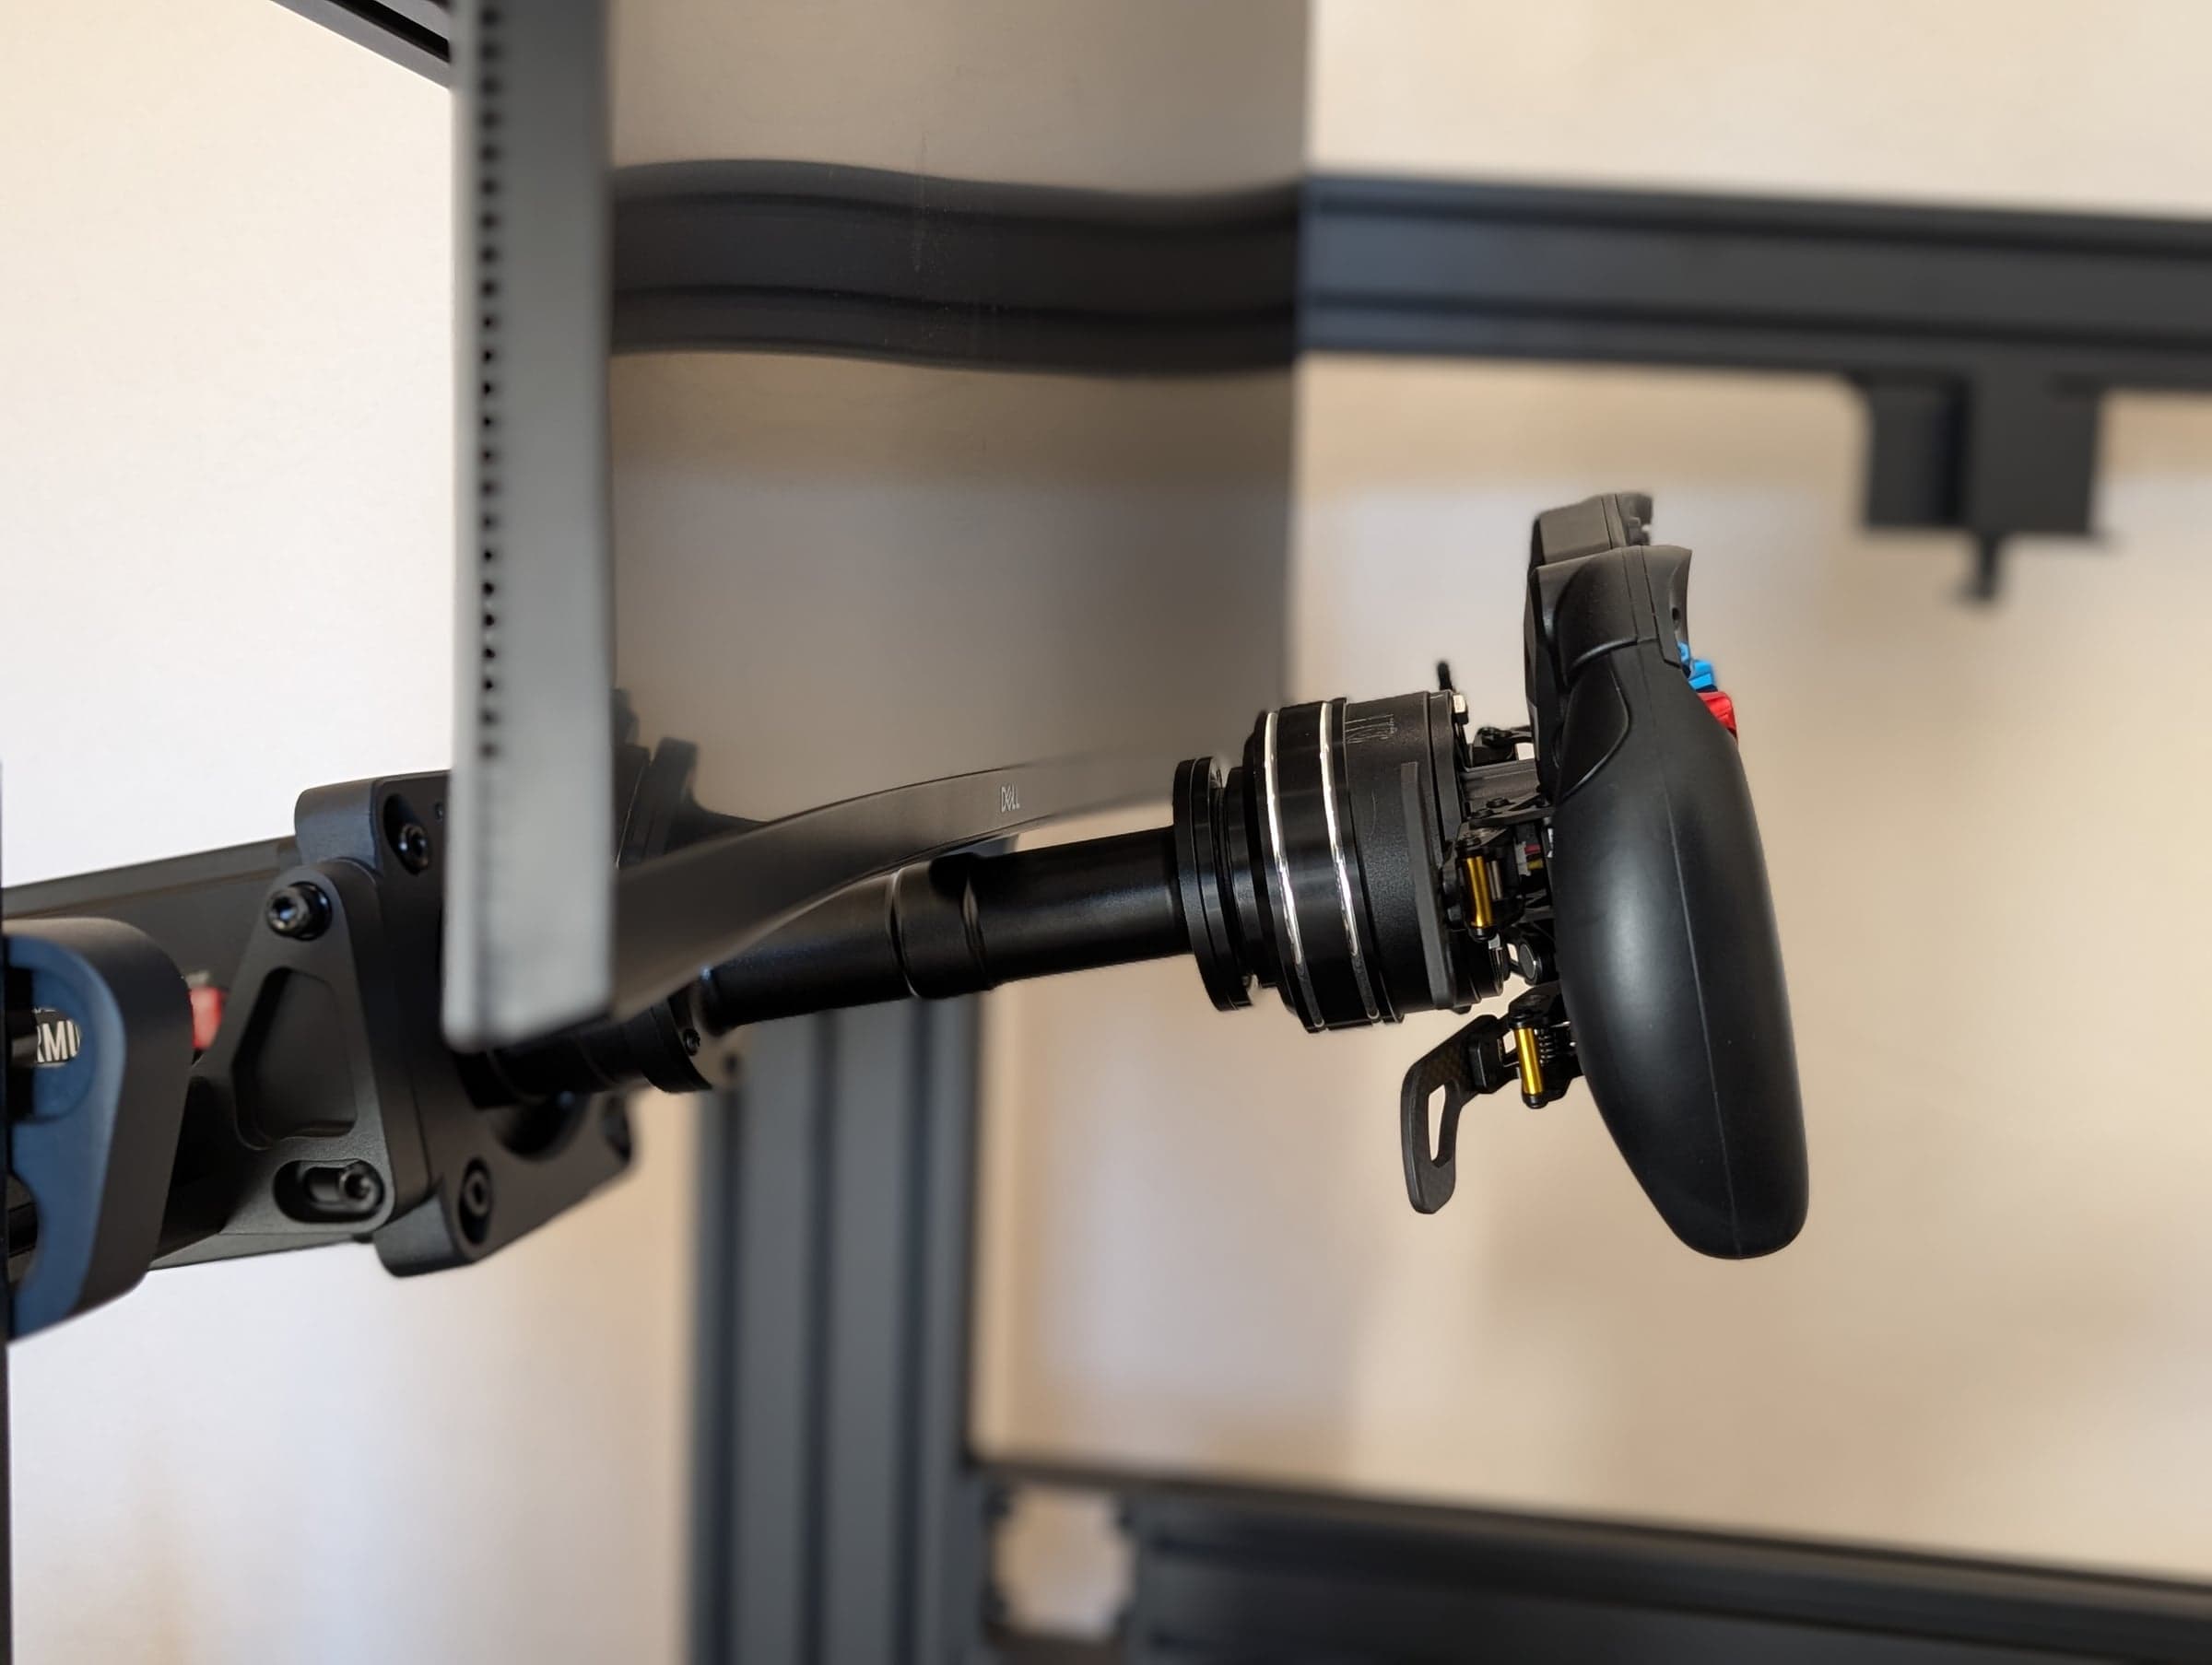
I'm using a Simagic wheelbase with an extended steering shaft. That lets me push the wheelbase itself farther back while keeping the steering wheel where I want it, and more importantly allows the monitors to sit exactly where I want them relative to my seating position.
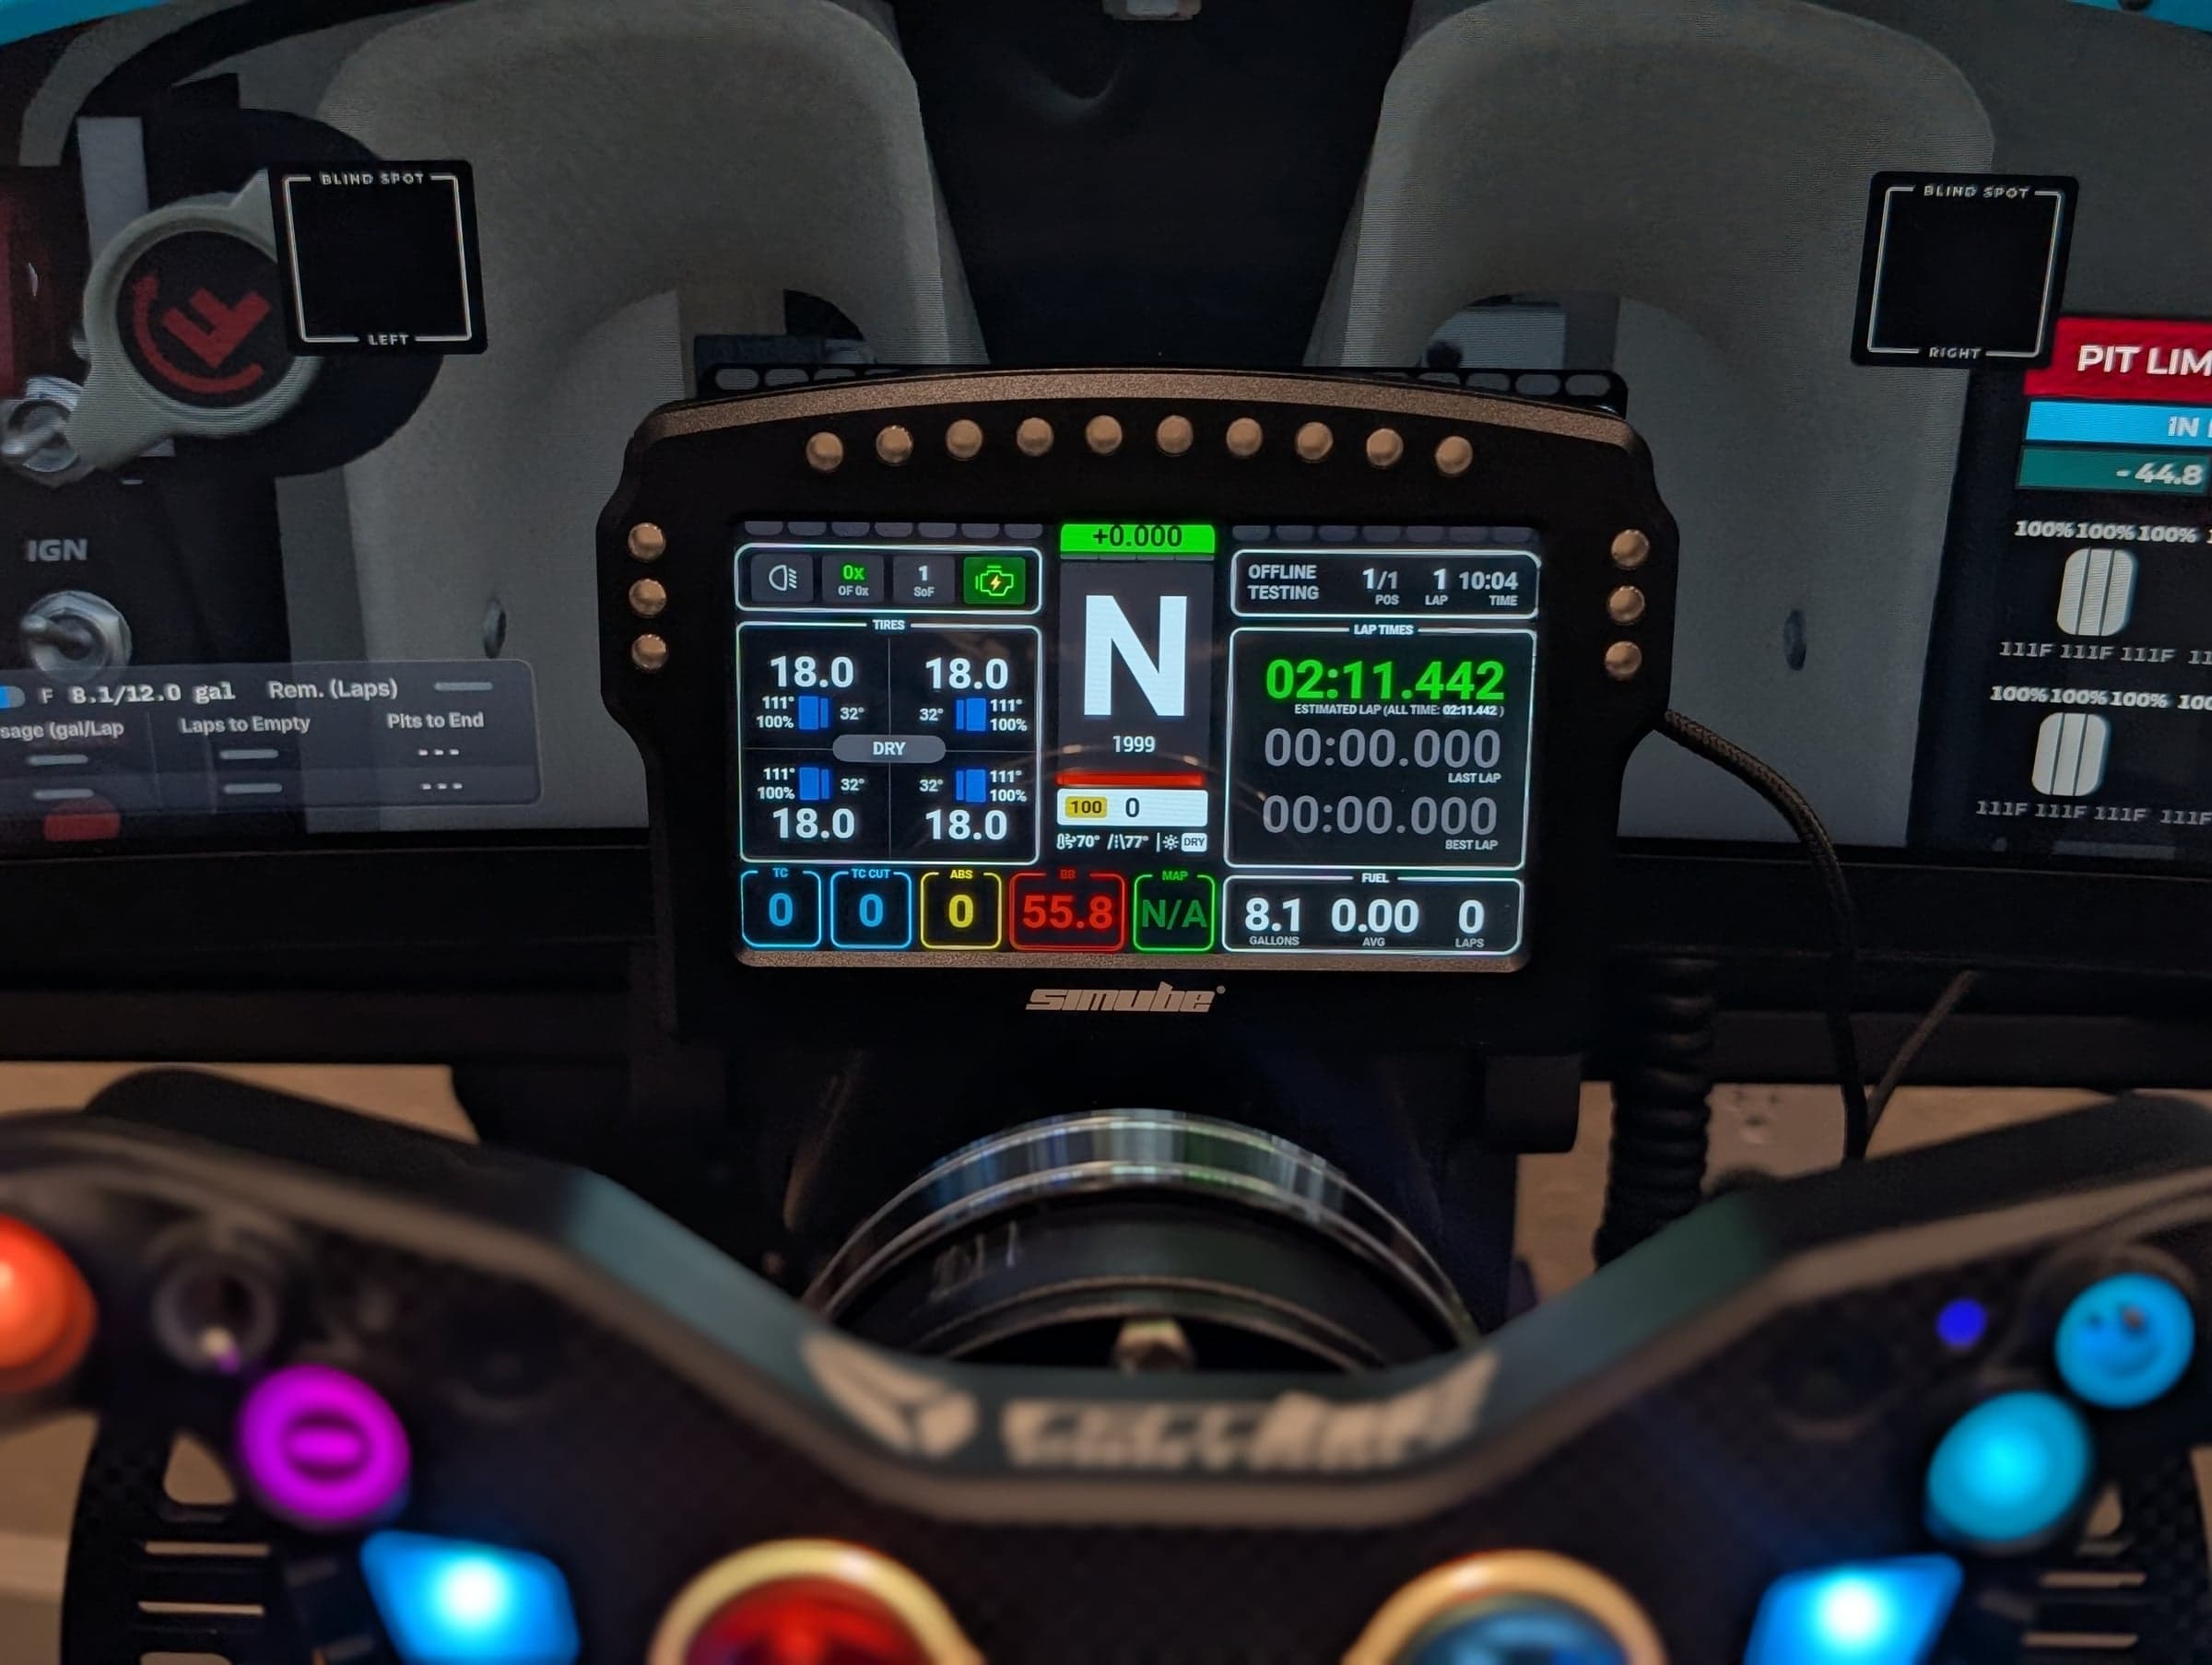
That setup works really well, but it created a problem when I decided to add a DDU.
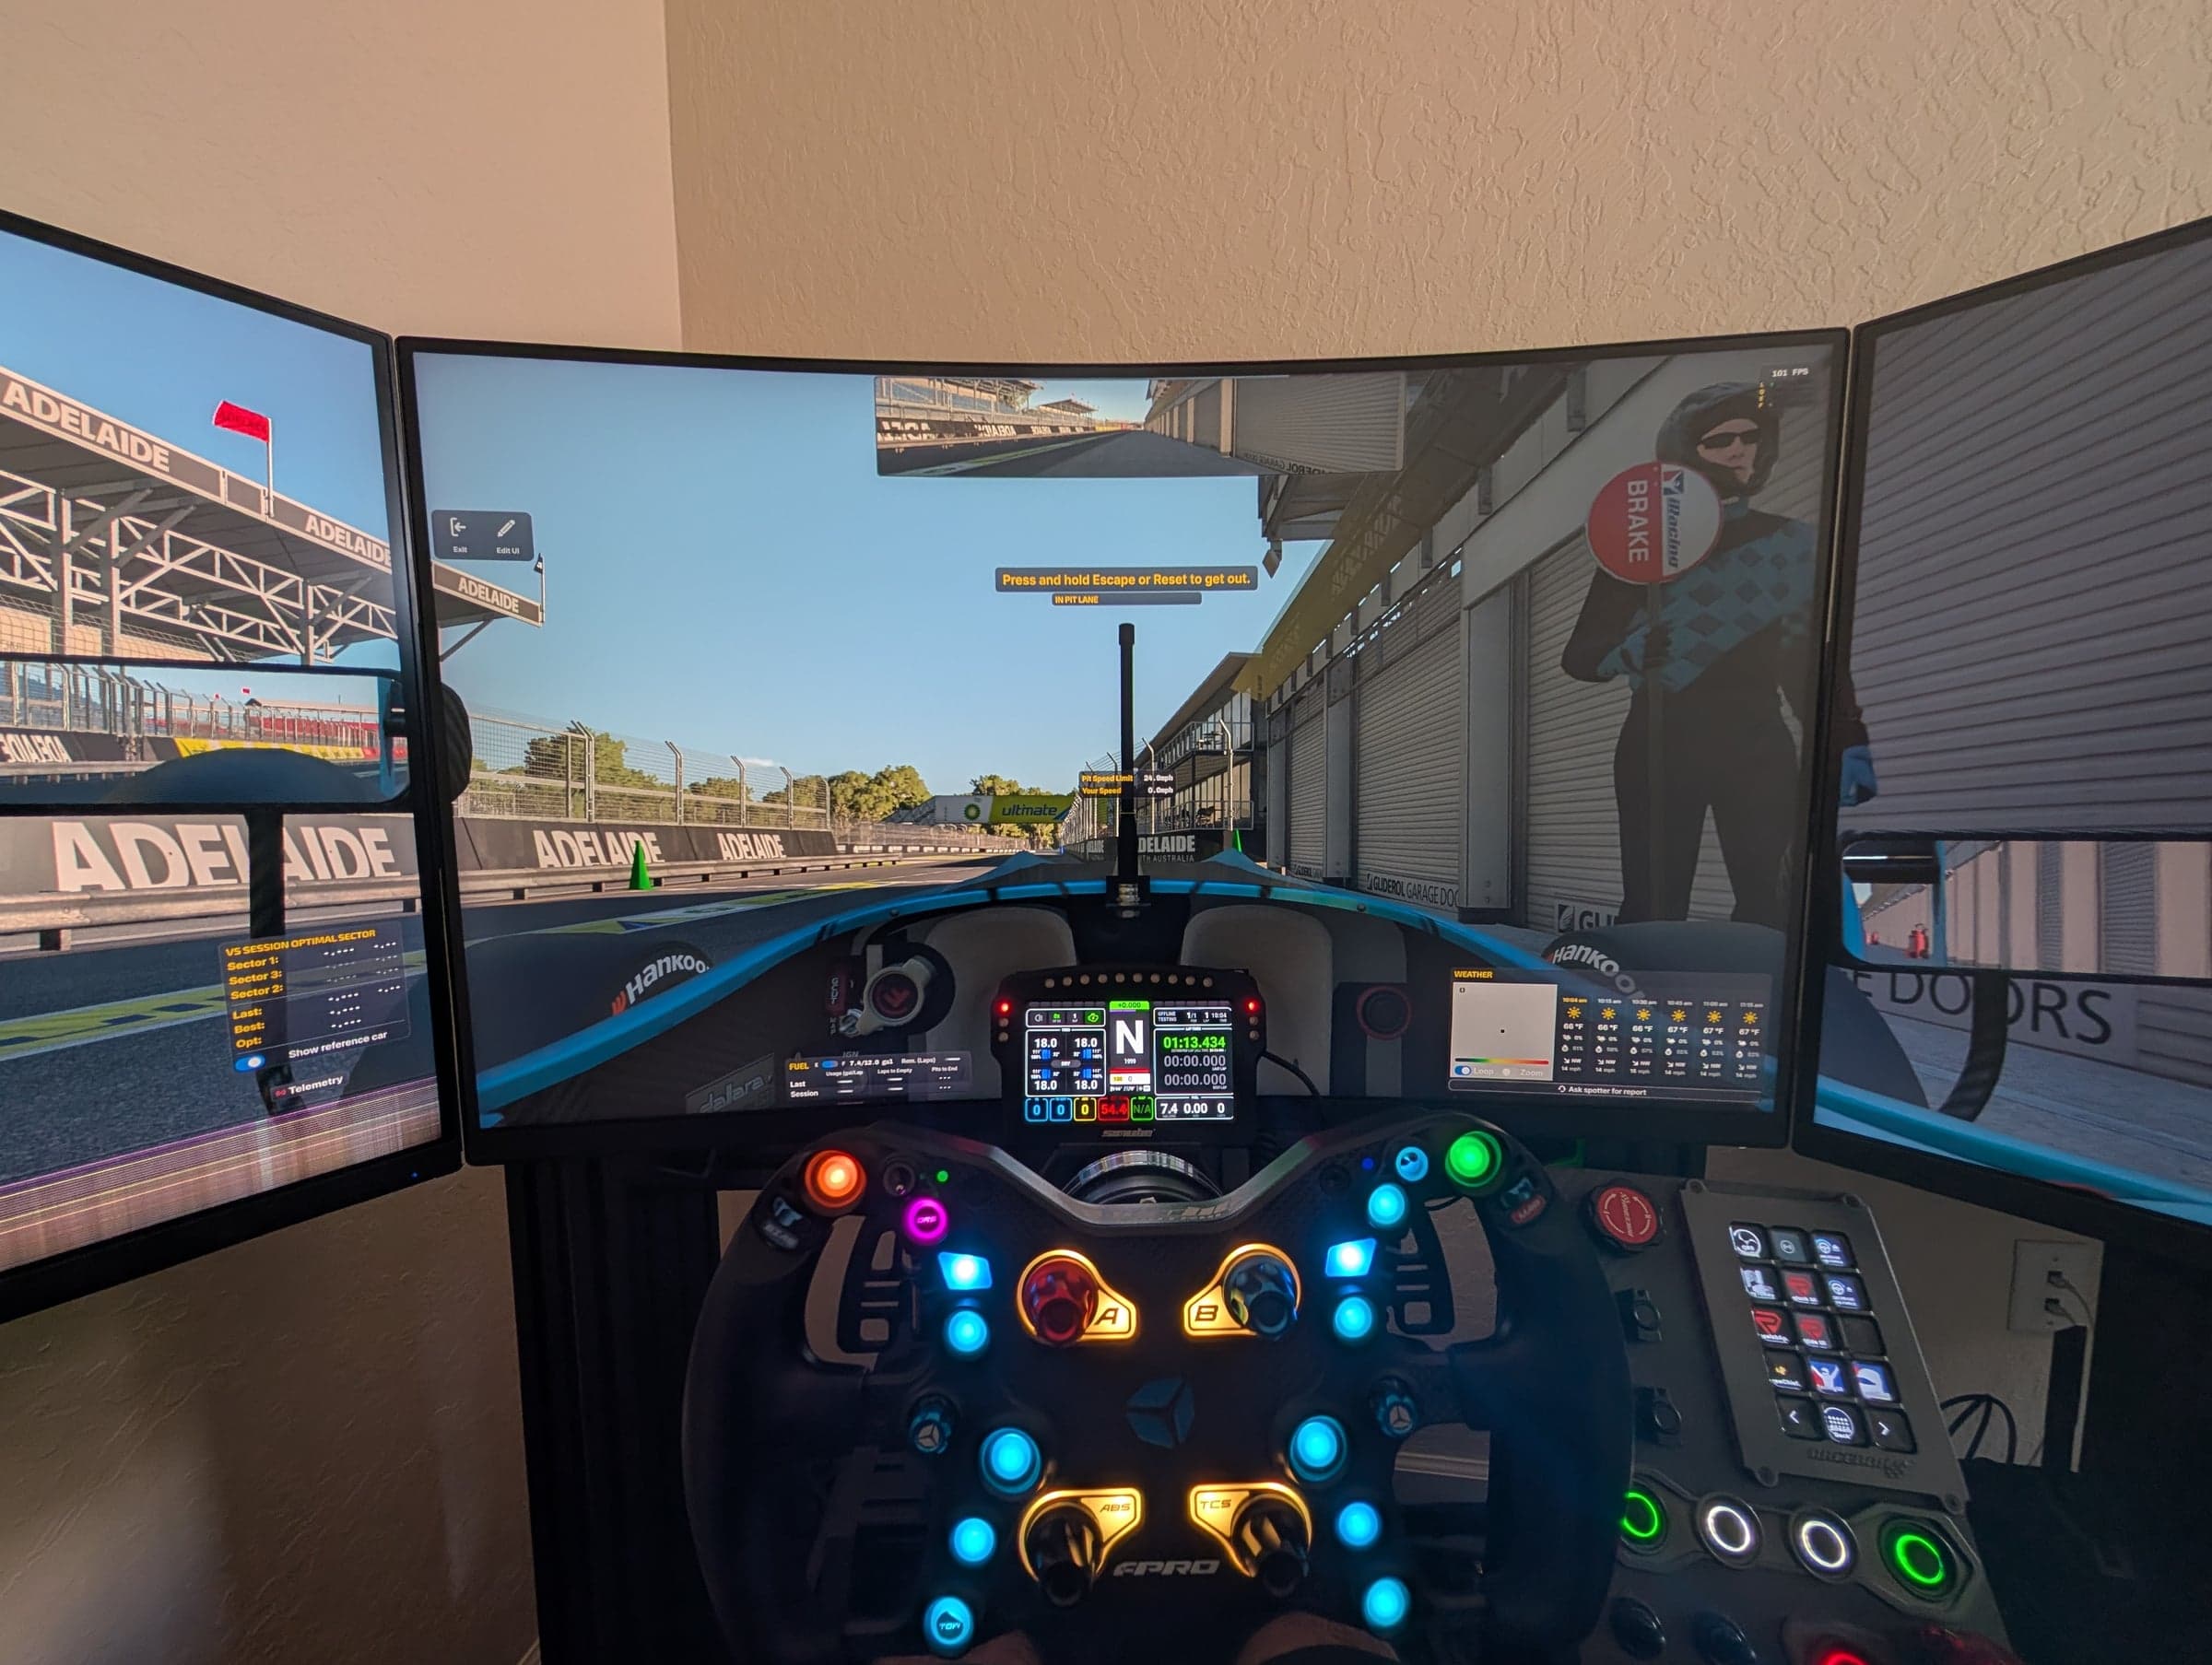
After using the rig for a couple of months, I wanted a dedicated dash display. Normally that isn't particularly difficult. There are plenty of DDU mounts available for common wheelbases and simulator setups.
Mine isn't quite so common.
Between the Simagic base, extended shaft and how tightly I have the monitors positioned around everything, I couldn't find a mount that really worked the way I wanted.
So I made one.
The DDU Mount
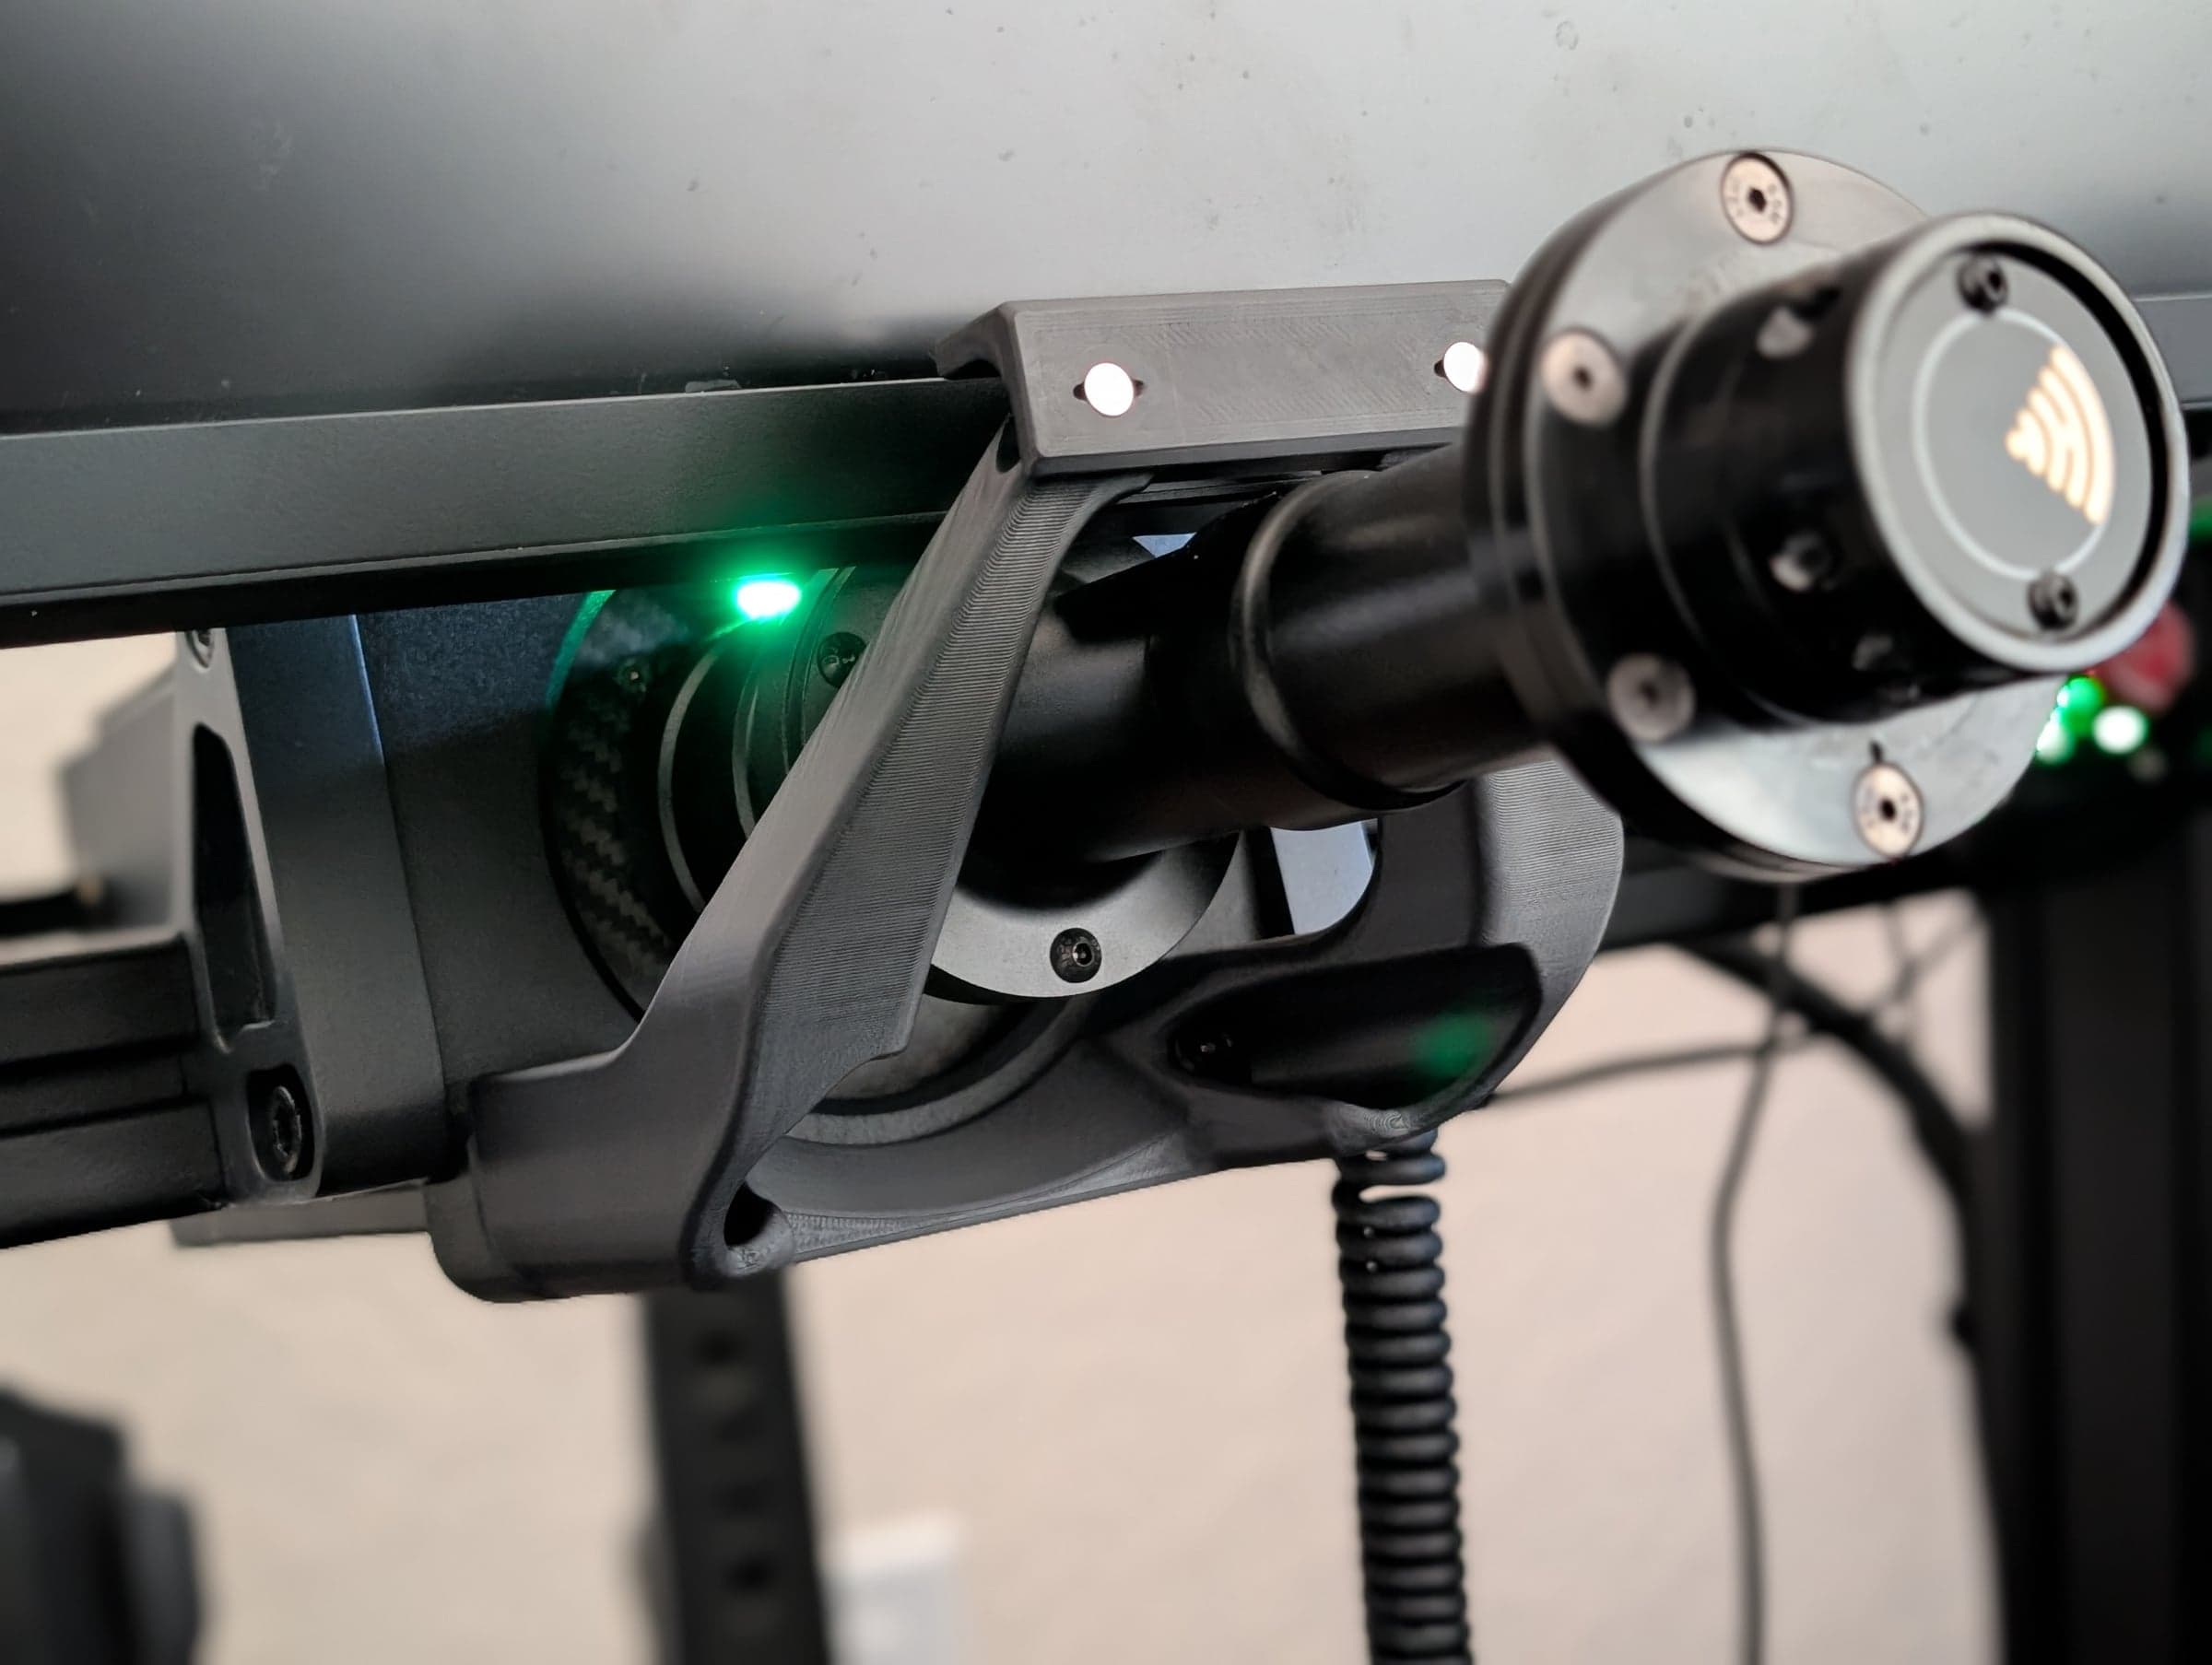
The first version was simple. I designed a bracket that positioned the display exactly where I wanted it and bolted it to the rig.
It worked perfectly.
Until I wanted to move the dash.
There are times when I don't necessarily want the DDU sitting directly in front of me, and removing bolts every time I wanted it out of the way got old pretty quickly.
So I redesigned it.
The new version uses a magnetic attachment combined with a swivel system. The dash stays securely positioned while driving, but it can quickly be moved out of the way without tools or removing any hardware.
A buddy from my racing league was interested in the idea too, so I made another version for his setup using one of the common Amazon 8.8-inch widescreen displays. That pushed the design a little further and made it obvious that the mount could work for more than just my exact setup.
That design has now turned into an actual product.
The mount is available for purchase with different options depending on the display and setup you're using.
Purchase the DDU mount here: [LINK TO PRODUCT]
It's a good example of how a lot of the things I end up making start. I run into something on my own car, simulator or project that doesn't have a good existing solution, make the part I wish I could buy, and sometimes it turns into something useful for other people too.
.jpeg&w=3840&q=75)
.jpeg&w=3840&q=75)
.jpeg&w=3840&q=75)
.jpeg&w=3840&q=75)
The Little Stuff
A lot of the rest of the rig came over from my previous setup.
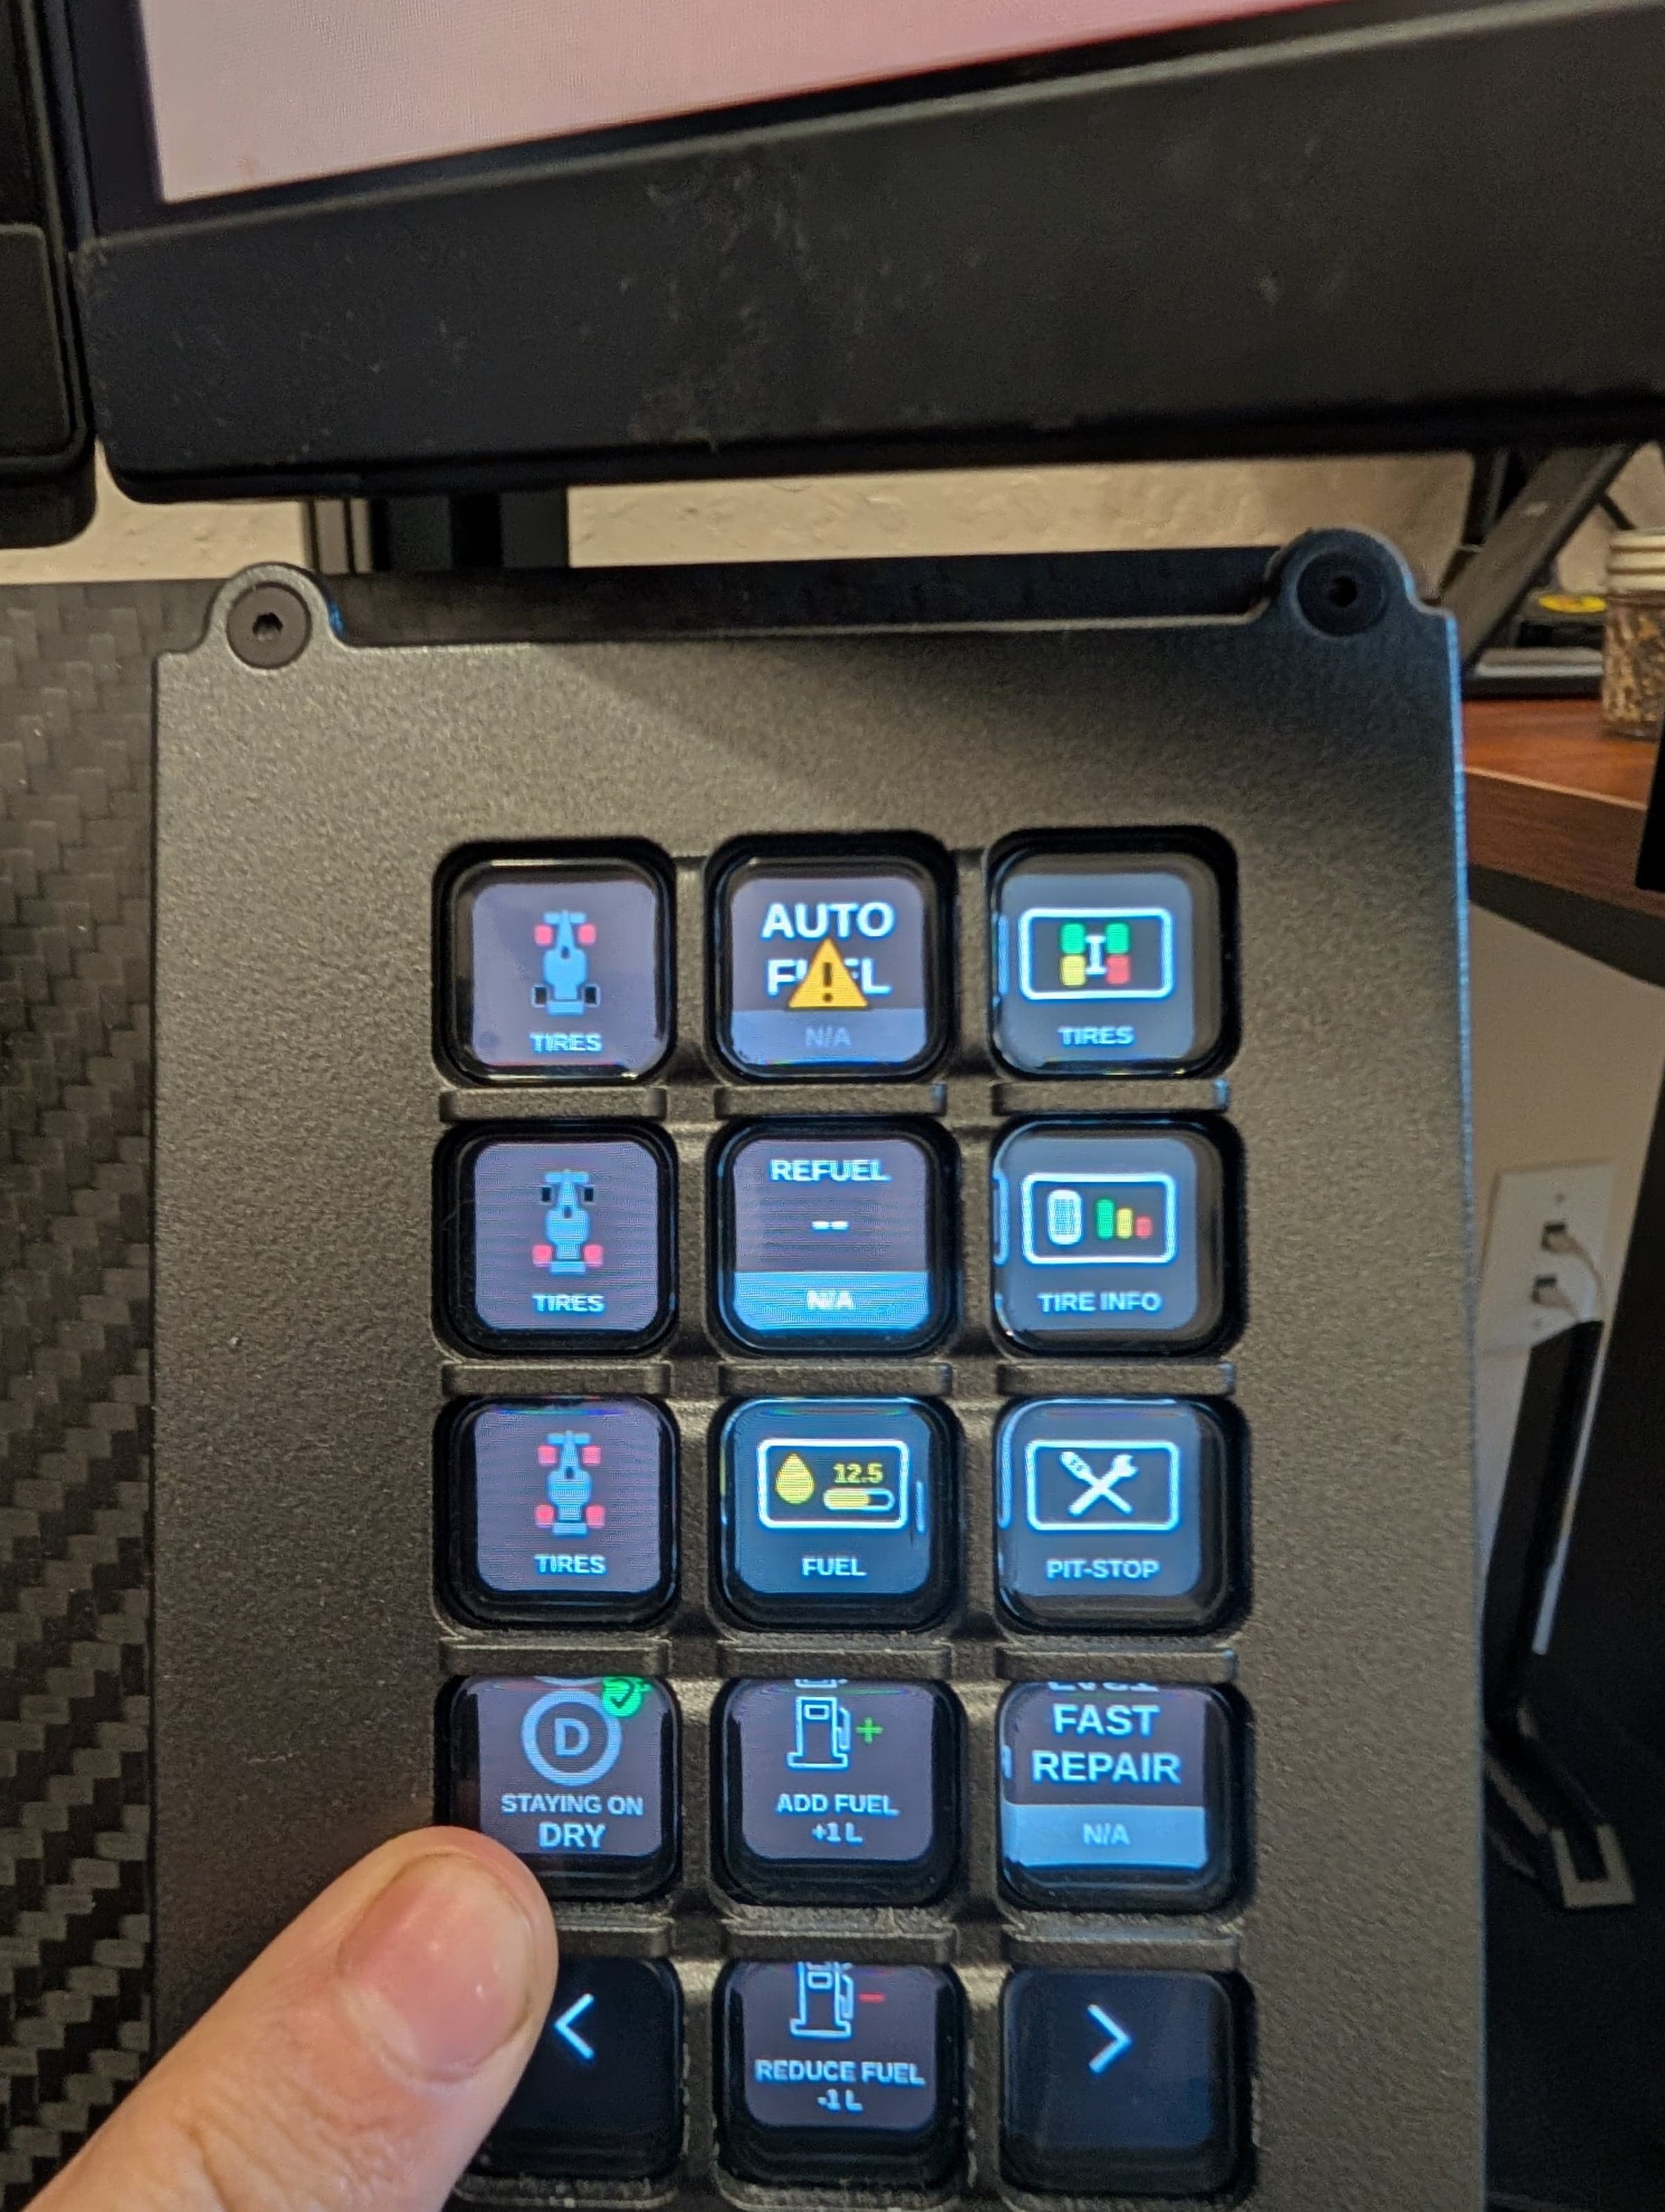
I'm still using my existing button box with an integrated Stream Deck, which has worked really well and didn't give me much reason to reinvent it.
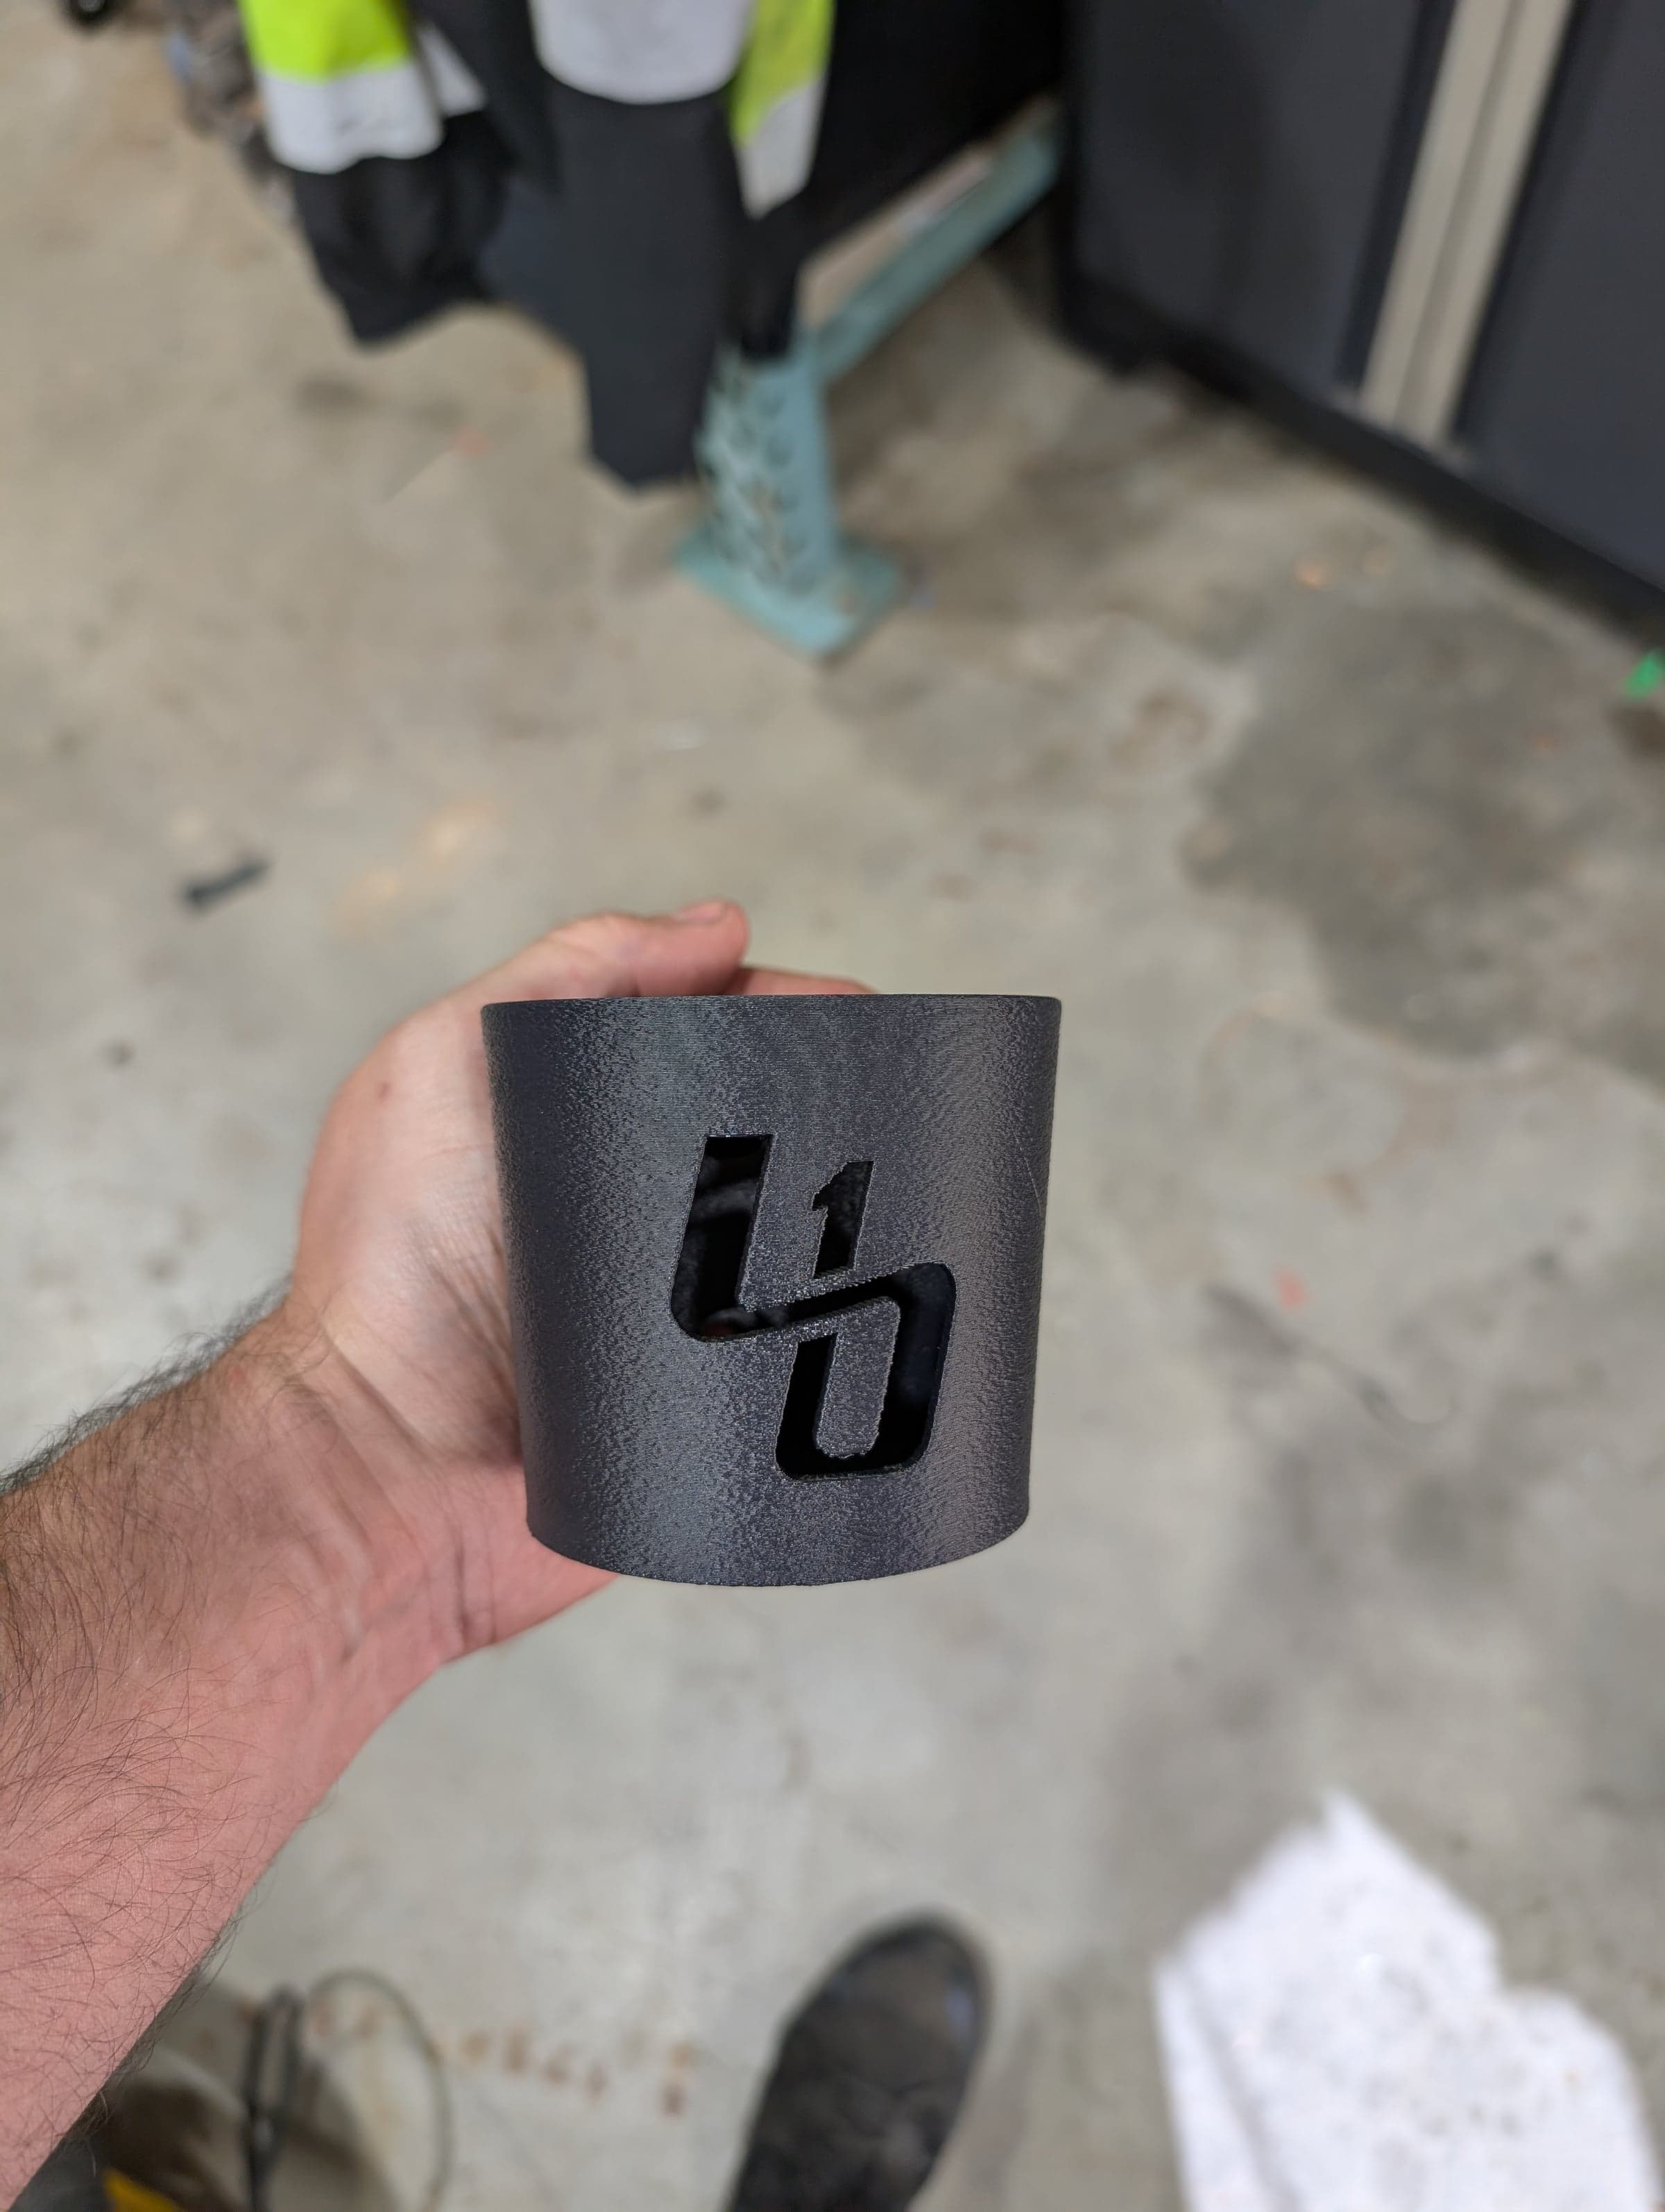
And since apparently no simulator is actually finished until it has a cup holder, I printed one of those too.
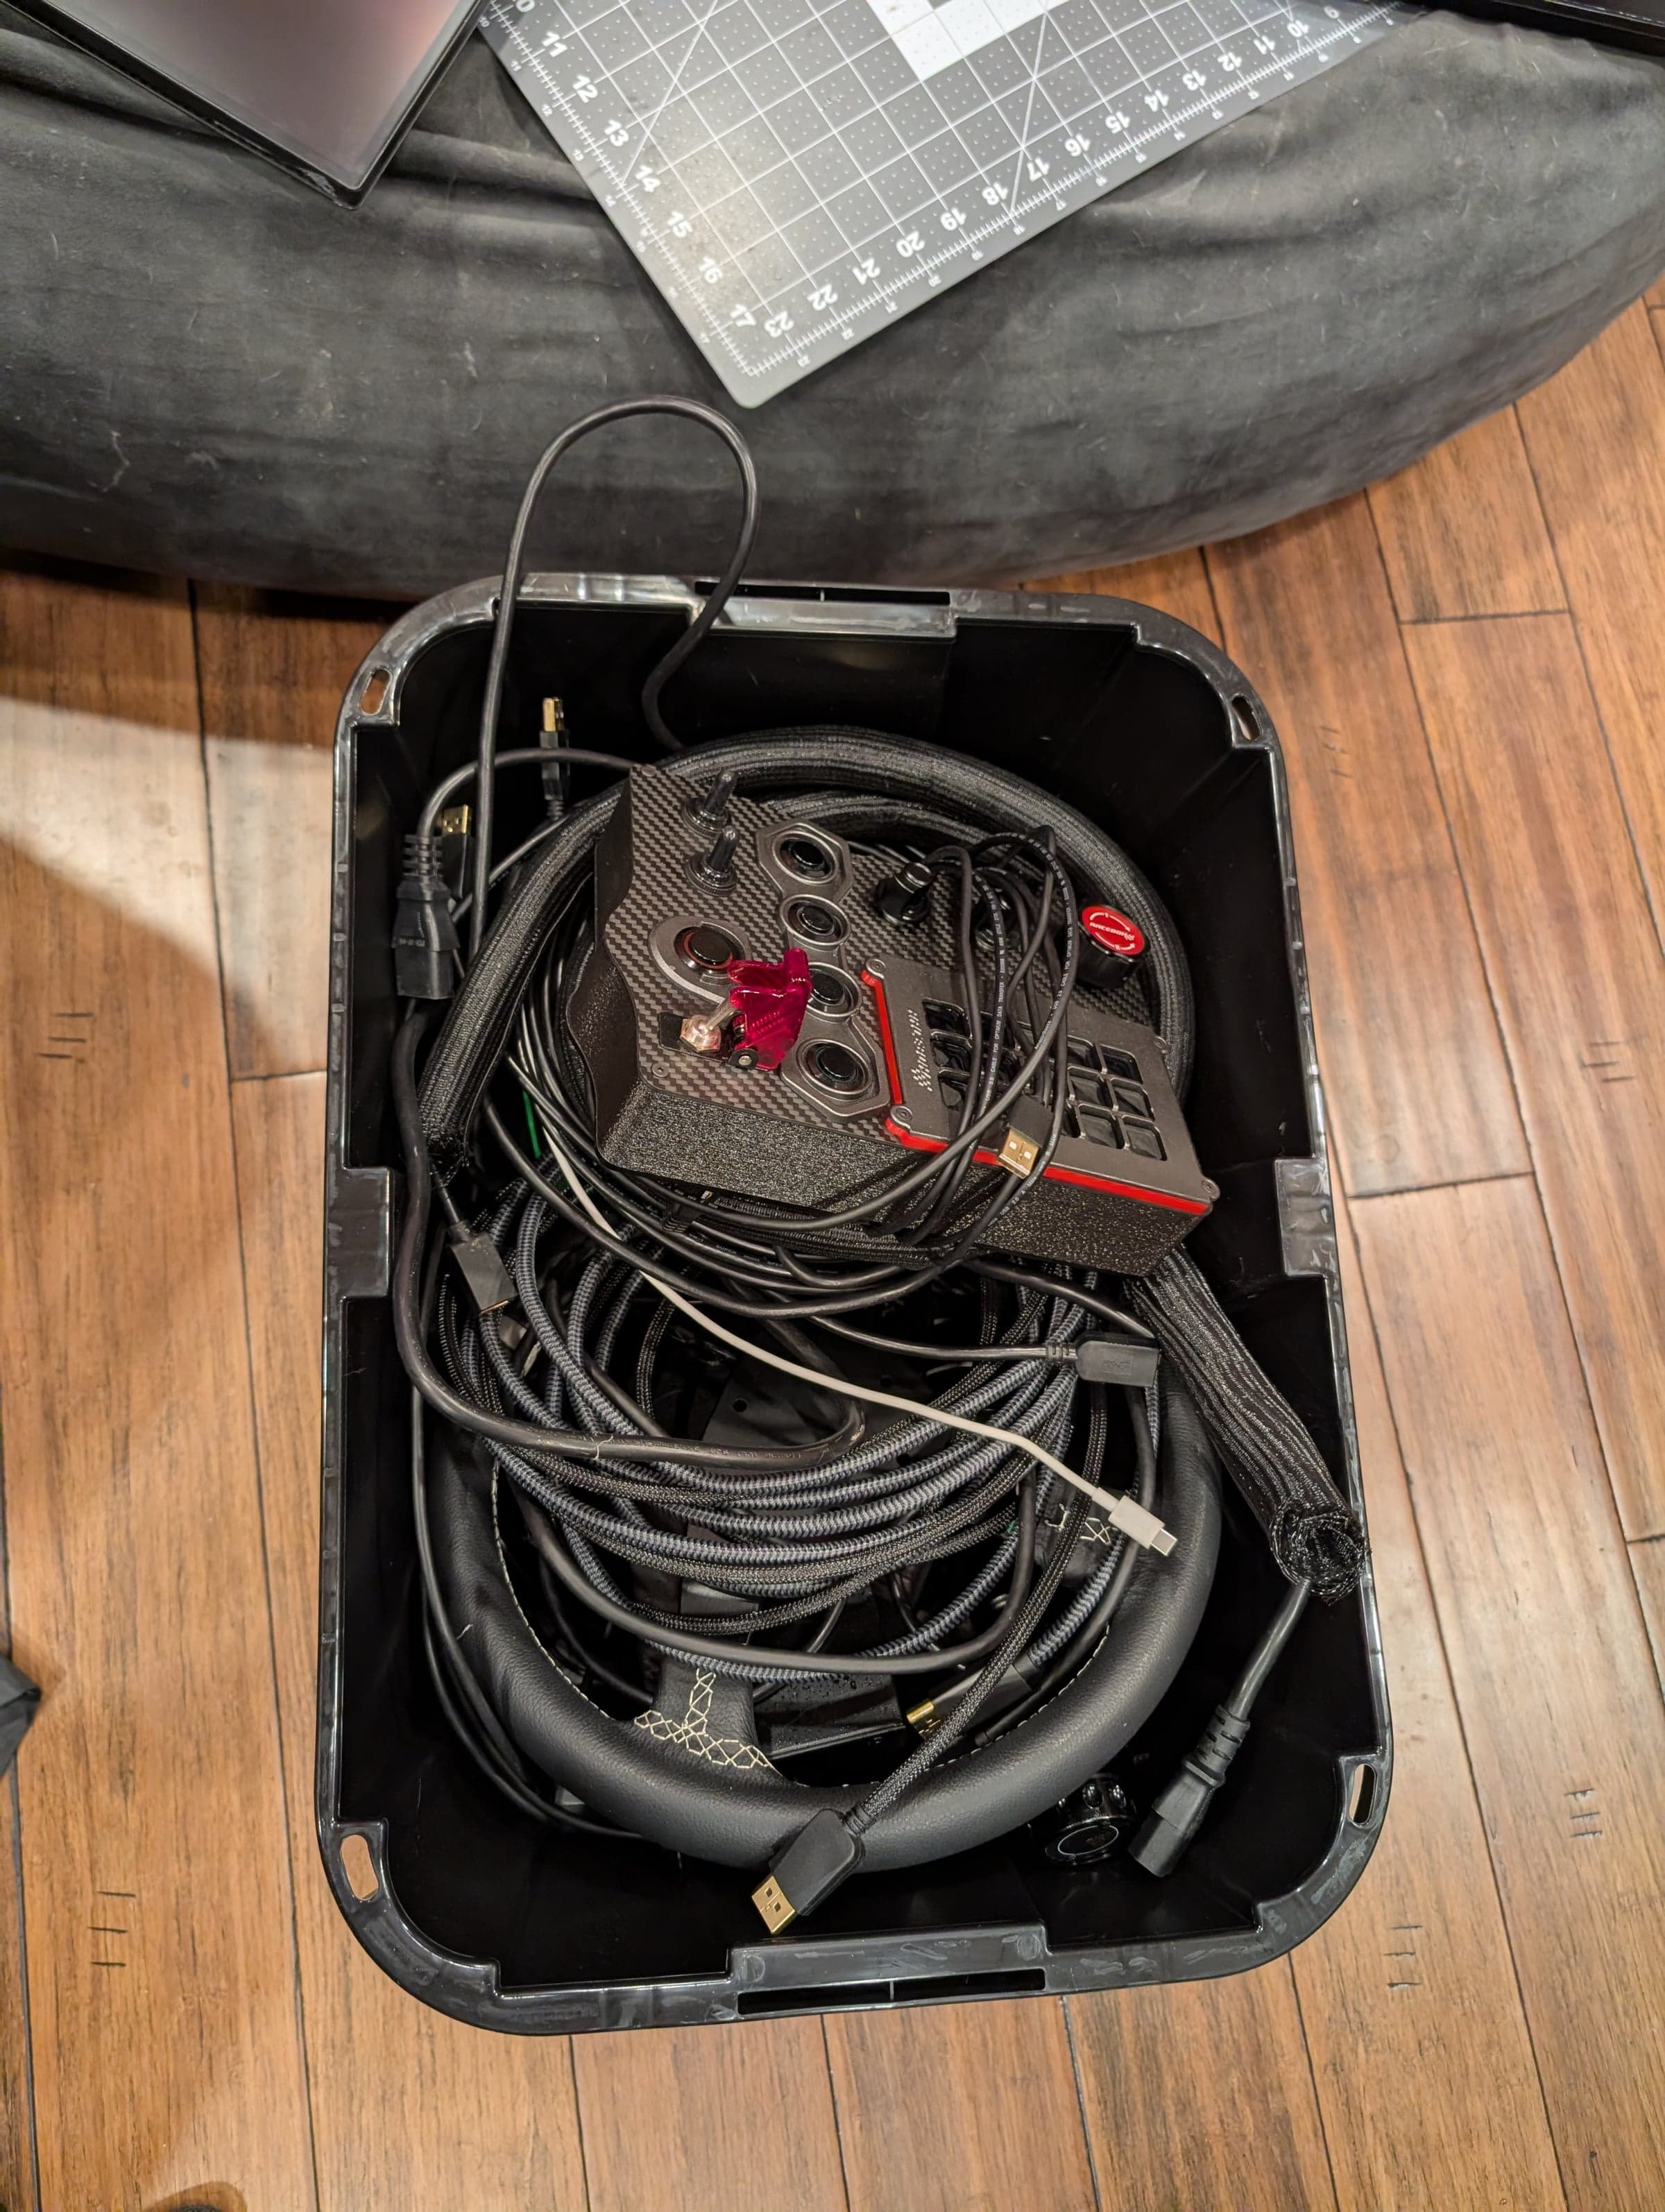
There are still a few smaller things I want to make. A proper keyboard holder is high on the list, and I'll probably design some steering wheel holders so the wheels I'm not using have somewhere clean to live instead of being stacked somewhere around the office.
Still Not Finished
Like most of my projects, the rig isn't really done.
The next larger addition I want to make is a blackout fabric wall behind the monitors along with a roof over the top of the displays. The idea is to completely block out the office behind the screens and make the simulator feel a little more enclosed when you're driving.
I've already got a pretty good idea of how I want to build it, I just need the time to actually do it.
For now, though, the P1X has been exactly what I hoped it would be. It's extremely rigid, it looks great in the office, and after building and using several different rigs now, it's the chassis I'm comfortable recommending when someone asks me what I would buy.
And, as usual, I've already started designing parts for it that didn't exist when I started.